
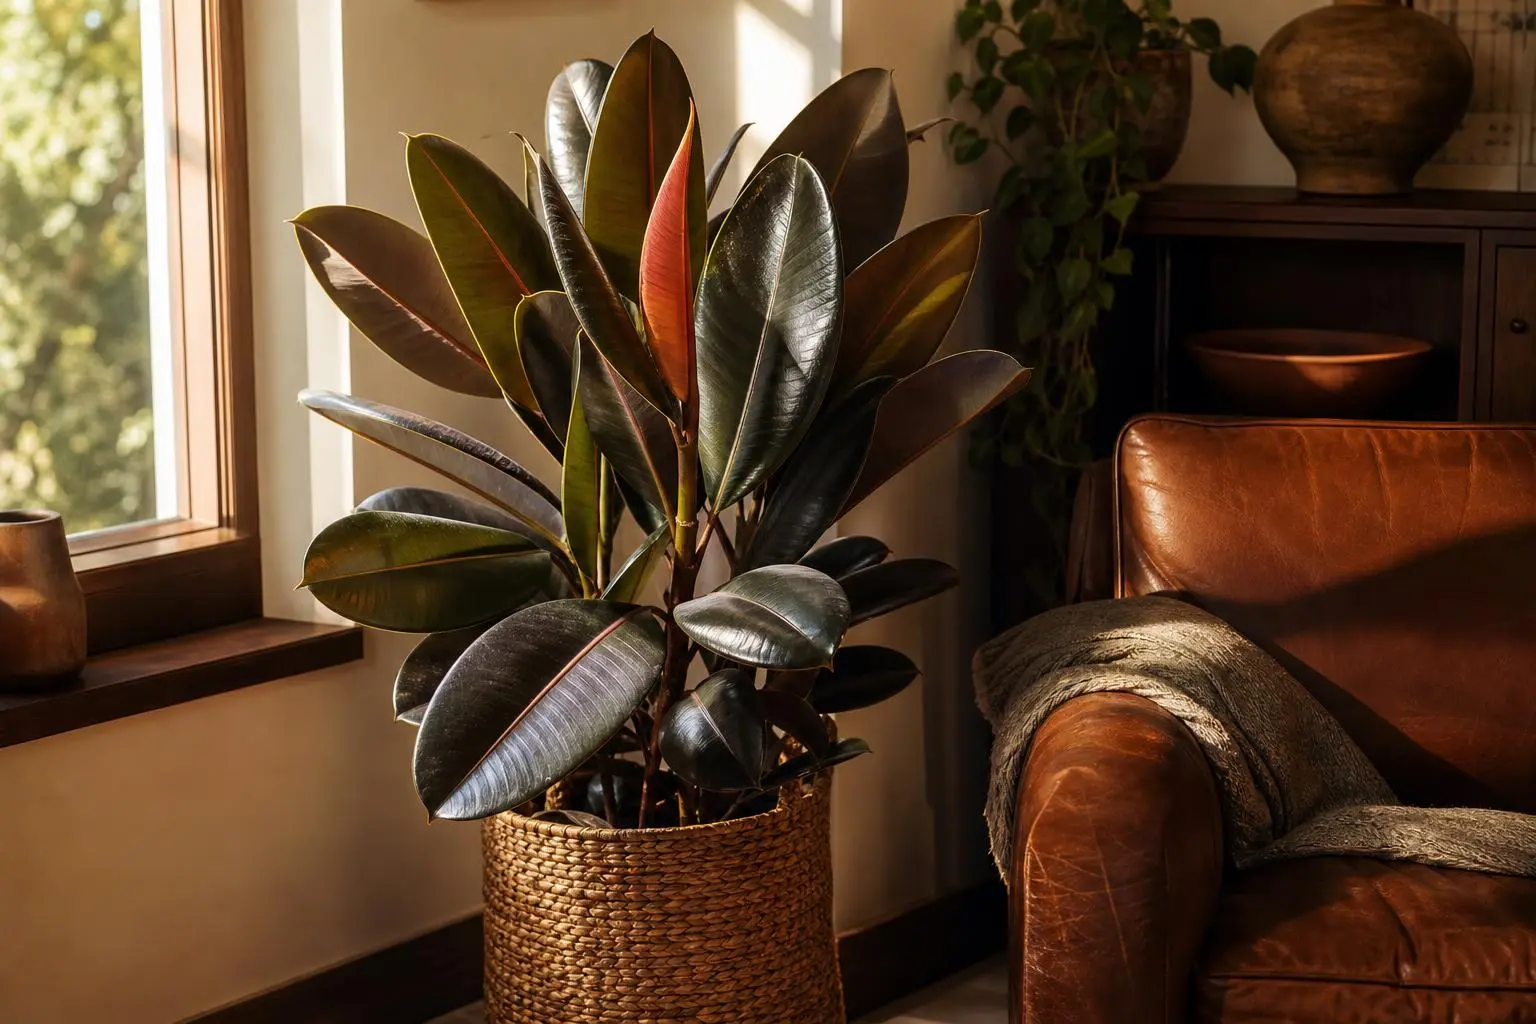
Rubber Plant
Ficus elastica
Also known as: Rubber Tree, Rubber Fig, Indian Rubber Bush, Elastic Fig
Last updated: Sep 10, 2026
Bright indirect light; tolerates medium light
When top 2 inches of soil are dry
40–60%
60–80°F (15–27°C)
Well-draining potting mix with peat, perlite, and pine bark
Balanced liquid fertilizer monthly in spring/summer
Beginner friendly
Toxic to pets
Toxic to Pets
The milky sap contains ficin and can cause skin irritation. If ingested, it can cause oral irritation, vomiting, and digestive upset. Wear gloves when pruning and keep away from pets.
Source: ASPCA Toxic Plant List
Seasonal Care Calendar
| Season | Watering | Fertilizer | Notes |
|---|---|---|---|
| Spring | Every 7–10 days | Start monthly feeding | Best time to repot and prune. Resume regular watering as growth picks up. |
| Summer | Every 7–10 days | Monthly feeding | Active growth period. Wipe leaves monthly to remove dust. Can move outdoors to a shaded spot. |
| Fall | Every 10–14 days | Reduce to every 6 weeks | Growth slows. Reduce watering frequency. Stop fertilizing by late fall. |
| Winter | Every 14–21 days | None | Dormant period. Keep away from cold drafts and heating vents. Expect some lower leaf drop — this is normal. |
Detailed Care Guide
Everything you need to know to keep your Rubber Plant thriving.
Light Requirements
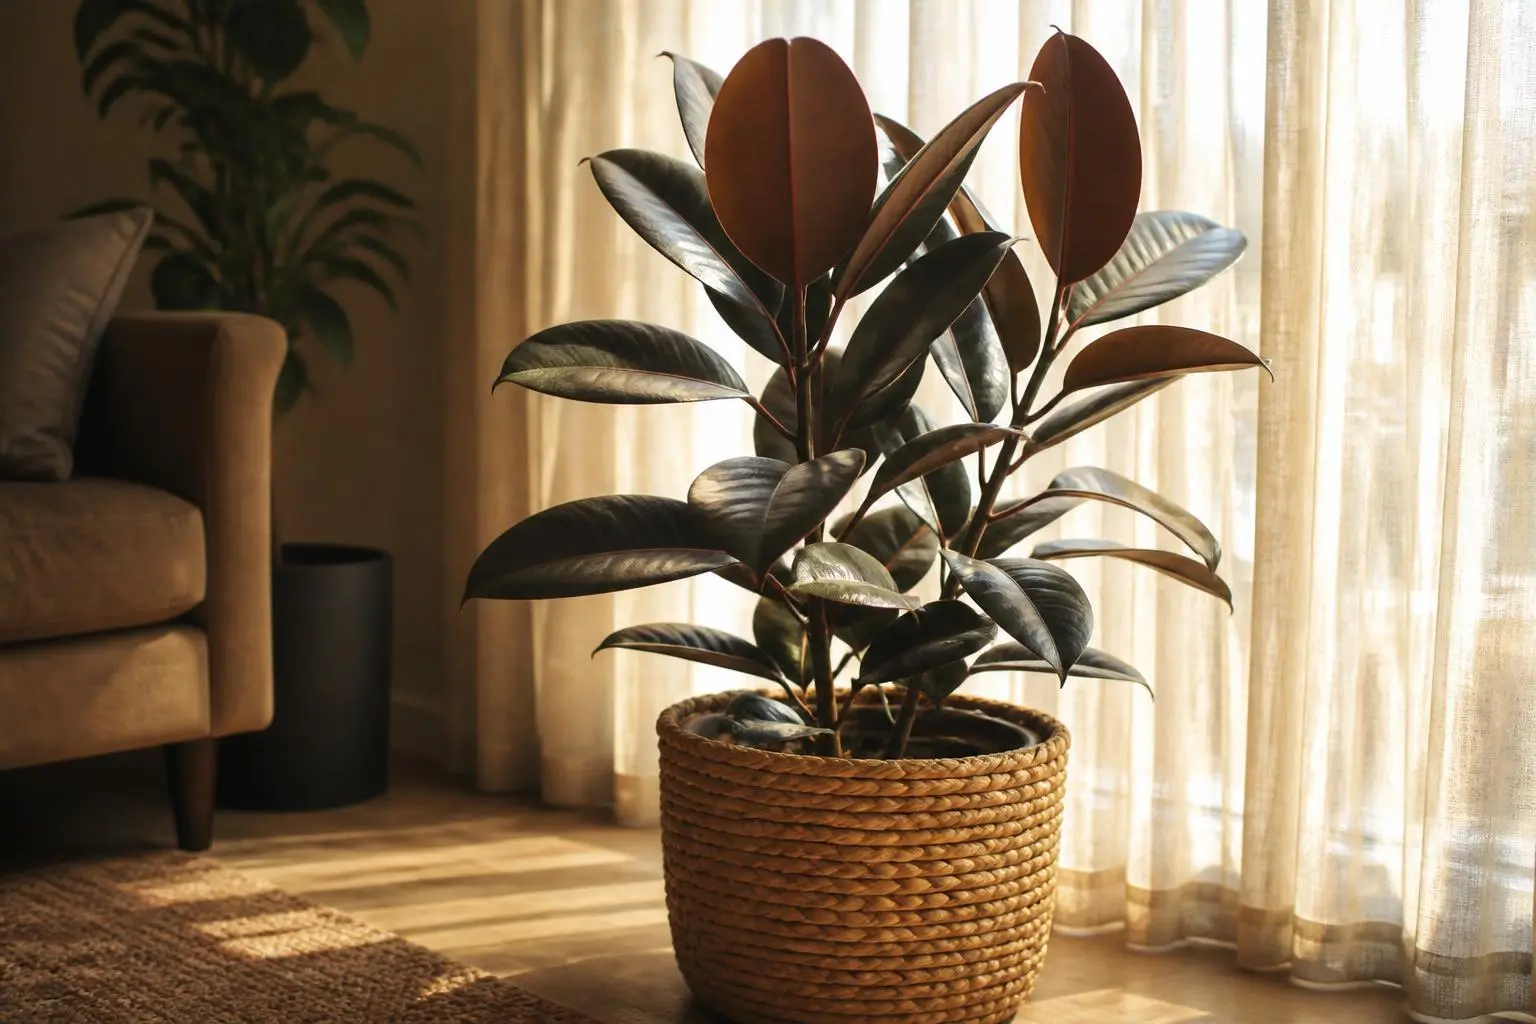
Rubber plants thrive in bright, indirect light — the kind found near an east-facing window or a few feet back from a south- or west-facing one. In their native Southeast Asian habitat, they grow as understory trees that receive dappled sunlight filtered through the canopy above, so they are naturally adapted to bright but not direct conditions.
Direct afternoon sun will scorch the thick, glossy leaves, causing bleached patches and brown crispy edges. However, rubber plants are notably more tolerant of medium light than many other ficus species. They will survive in a north-facing window or a dimmer corner of a room, though growth will slow significantly and new leaves will be smaller and less vibrant. Variegated varieties like Tineke and Ruby need more light to maintain their coloring — insufficient light causes them to revert toward solid green.
A good indicator that your rubber plant needs more light is when the lower leaves start dropping and the stem stretches with wider gaps between leaves. Rotate the pot a quarter turn every week or two to encourage even, symmetrical growth and prevent the plant from leaning toward the window.
Watering
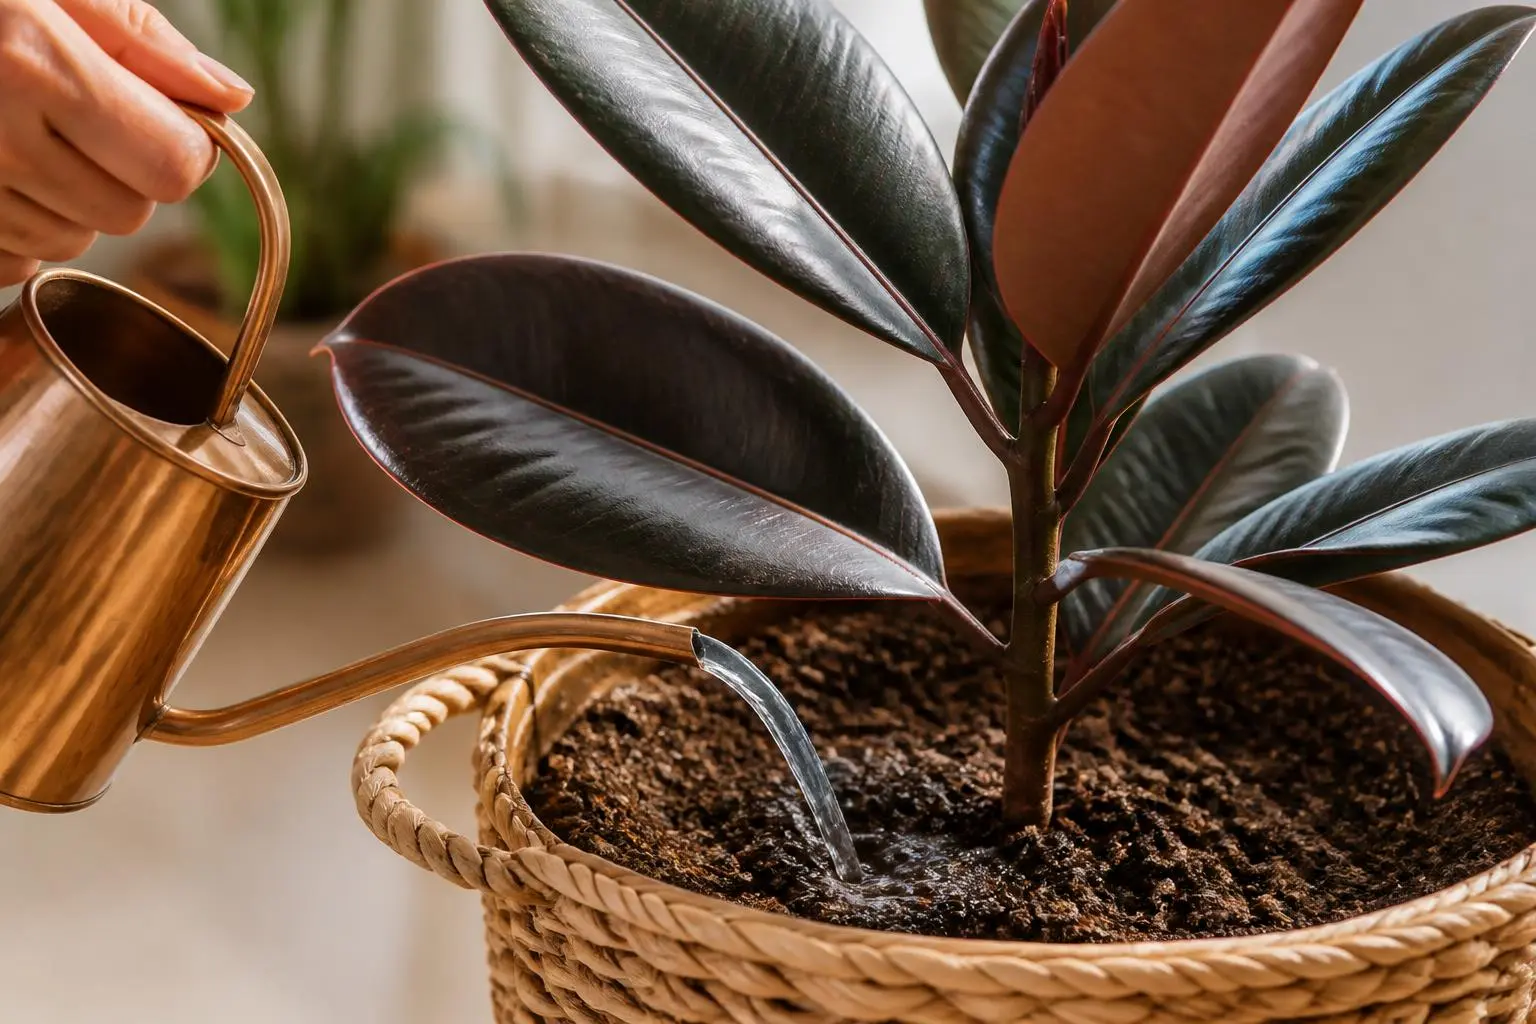
Water your rubber plant when the top 2 inches of soil feel dry to the touch. In spring and summer, this typically means every 7–10 days; in fall and winter, reduce to every 14–21 days. Always check the soil with your finger before watering — rubber plants despise sitting in soggy soil and overwatering is the fastest way to kill one.
When you water, give it a thorough soak until water runs freely from the drainage holes. Empty the saucer after 15 minutes — never let the pot sit in standing water. Use room-temperature water; cold water shocks the roots and can cause leaf drop. If your tap water is heavily chlorinated, let it sit out overnight before using it.
Overwatering shows up as yellowing lower leaves that drop off, mushy stems near the soil line, and soil that stays wet for days. Underwatering causes the leaves to droop and the edges to turn brown and crispy. Rubber plants are fairly forgiving of underwatering — a drooping plant will usually perk back up within 24 hours of a good watering. Consistency is key; erratic watering schedules cause the most stress and leaf drop.
Humidity
Rubber plants prefer humidity between 40–60%, which is within the range of most homes. This makes them one of the easier tropical plants to grow indoors without supplemental humidity — they are far less demanding than calatheas or ferns. However, in very dry environments (below 30% humidity), you may notice brown, crispy leaf edges, especially during winter when heating systems dry out the air.
If your home is dry, the most effective solution is a small humidifier placed within 3–4 feet of the plant. A pebble tray filled with water beneath the pot also helps — just make sure the pot sits on the pebbles, not in the water. Grouping plants together creates a shared microclimate with slightly higher ambient humidity.
Misting rubber plants is generally not recommended. Their large, glossy leaves are designed to shed water, and misting can leave mineral deposits or water spots on the foliage. If you do mist, use filtered water and do it in the morning so the leaves dry before nightfall. Wiping the leaves with a damp cloth every few weeks is more beneficial — it removes dust that blocks light and lets the plant breathe.
Temperature
Rubber plants prefer temperatures between 60–80°F (15–27°C), which aligns well with typical indoor conditions. They can tolerate brief dips to 50°F (10°C) but will suffer damage below that — leaves may yellow, drop, and develop cold spots. Anything below 40°F (4°C) can be fatal.
Avoid placing your rubber plant near cold drafts (air conditioning vents, exterior doors that open frequently in winter) or direct heat sources (radiators, heating vents, fireplaces). Sudden temperature changes are one of the most common triggers for leaf drop in rubber plants — they strongly prefer stable, consistent temperatures. Even moving a rubber plant from a warm room to a cooler hallway can cause it to shed leaves within days.
If you move your rubber plant outdoors for the summer, bring it back inside when nighttime temperatures consistently drop below 55°F. When transitioning between indoor and outdoor environments, do it gradually over 7–10 days to acclimate the plant and minimize stress-induced leaf drop.
Soil
Rubber plants need well-draining soil that retains some moisture without staying soggy. A mix of peat, perlite, and pine bark provides the ideal balance of moisture retention, aeration, and drainage. The pine bark chunks create air pockets that ficus roots love, while the peat holds enough moisture for consistent hydration.
A recommended mix: 1 part peat-based potting soil + 1 part perlite + 1 part pine bark fines. This mimics the loose, organic forest floor where Ficus elastica naturally grows. Adding a handful of horticultural charcoal helps prevent root rot by absorbing excess moisture and impurities.
For a simpler approach, mix 2 parts quality potting soil with 1 part perlite. It drains adequately for most home environments. The pH should be slightly acidic to neutral (5.5–7.0). Avoid using garden soil or topsoil — they compact severely in containers, suffocating roots and preventing drainage. Heavy, water-retentive soils are the primary cause of root rot in rubber plants.
Fertilizer
Feed your rubber plant with a balanced liquid fertilizer (such as NPK 10-10-10) diluted to half strength, applied once a month during the spring and summer growing season. Over-fertilizing causes salt buildup that appears as brown, crispy leaf tips and edges, and can stunt new growth.
If you prefer organic options, worm castings top-dressed on the soil surface every 6–8 weeks work well. Slow-release granular fertilizer (like Osmocote) mixed into the soil at the start of spring provides a steady nutrient supply for 3–4 months without the risk of over-application.
Stop fertilizing entirely from late fall through winter when the plant's growth slows. Feeding during dormancy forces nutrients into the soil that the plant cannot absorb, leading to salt accumulation and potential root burn. If you notice a white crust on the soil surface or around the drainage holes, that is salt buildup — flush the soil thoroughly with plenty of water the next time you water to leach out excess minerals.
Repotting
Repot your rubber plant every 2–3 years, or when you see roots growing out of the drainage holes or circling the surface of the soil. The best time to repot is in spring or early summer when the plant is actively growing and can recover quickly from root disturbance.
Choose a pot only 2–3 inches larger in diameter than the current one. Oversized pots hold too much soil that stays wet too long, which is a recipe for root rot. Always use a pot with drainage holes — this is non-negotiable for rubber plants. Terracotta pots are an excellent choice because they allow the soil to breathe and dry out more evenly.
To repot: water the plant a day before to make removal easier. Gently slide it out — if it resists, run a knife around the inside edge of the pot. Loosen circling roots with your fingers and trim any black, mushy, or foul-smelling roots with sterilized scissors. Place fresh soil mix in the new pot, position the plant at the same depth it was before, and fill in around the sides. Water thoroughly and keep in a slightly shadier spot for a week to reduce transplant shock. Expect some leaf drop after repotting — this is normal and the plant will recover.
Pruning
Pruning is essential for keeping rubber plants bushy and manageable. Without pruning, they tend to grow tall and leggy with a single bare stem and a cluster of leaves at the top. Regular pruning encourages branching and creates a fuller, more attractive plant.
The best time to prune is in spring or early summer during active growth, which allows the plant to recover quickly and push out new branches. Using sterilized pruning shears or a sharp knife, cut the stem just above a node (the scar where a leaf was attached). Within a few weeks, one or two new branches will emerge from that node, giving you a bushier plant.
Wear gloves when pruning.** The white latex sap that oozes from cuts is a mild skin irritant and can cause contact dermatitis in sensitive individuals. If sap gets on your skin, wash it off with soap and water immediately. Keep pruned stems for propagation — they root readily.
Remove any yellowing, damaged, or diseased leaves at any time of year by cutting them off at the stem. Also trim away any dead or bare lower branches to improve airflow and appearance. For very tall, top-heavy plants, don't be afraid to cut them back significantly — rubber plants respond well to hard pruning and will produce multiple new growth points below the cut.
Our Experience
My rubber plant dropped five bottom leaves within two weeks of bringing it home. I panicked, but it turned out to be completely normal — rubber plants hate being moved and will shed leaves in protest. I left it in one spot, maintained a consistent watering schedule, and after about a month it stopped dropping leaves and pushed out new growth. The lesson: pick a spot and leave it there.
— Grown indoors in USDA Zone 7a, east-facing window, new plant acclimation period
I wipe my rubber plant's leaves with a damp microfiber cloth every two weeks, and the difference is remarkable. Dust builds up fast on those glossy leaves and blocks light. After the first wipe-down, the plant seemed to perk up within days and new leaves came in larger. A tiny drop of mild dish soap in the water helps remove stubborn grime — just rinse with plain water afterward.
— Grown indoors in USDA Zone 6b, bright indirect light, urban environment with more dust
I always wear nitrile gloves when pruning my rubber plant after learning the hard way. The sap got on my hands once and caused an itchy red rash that lasted two days. Now I glove up, and I also put newspaper down around the base because the sap drips and can stain surfaces. I rinse the cut stems under the tap immediately to stop the bleeding before propagating them.
— Grown indoors, routine pruning and propagation, sensitive skin
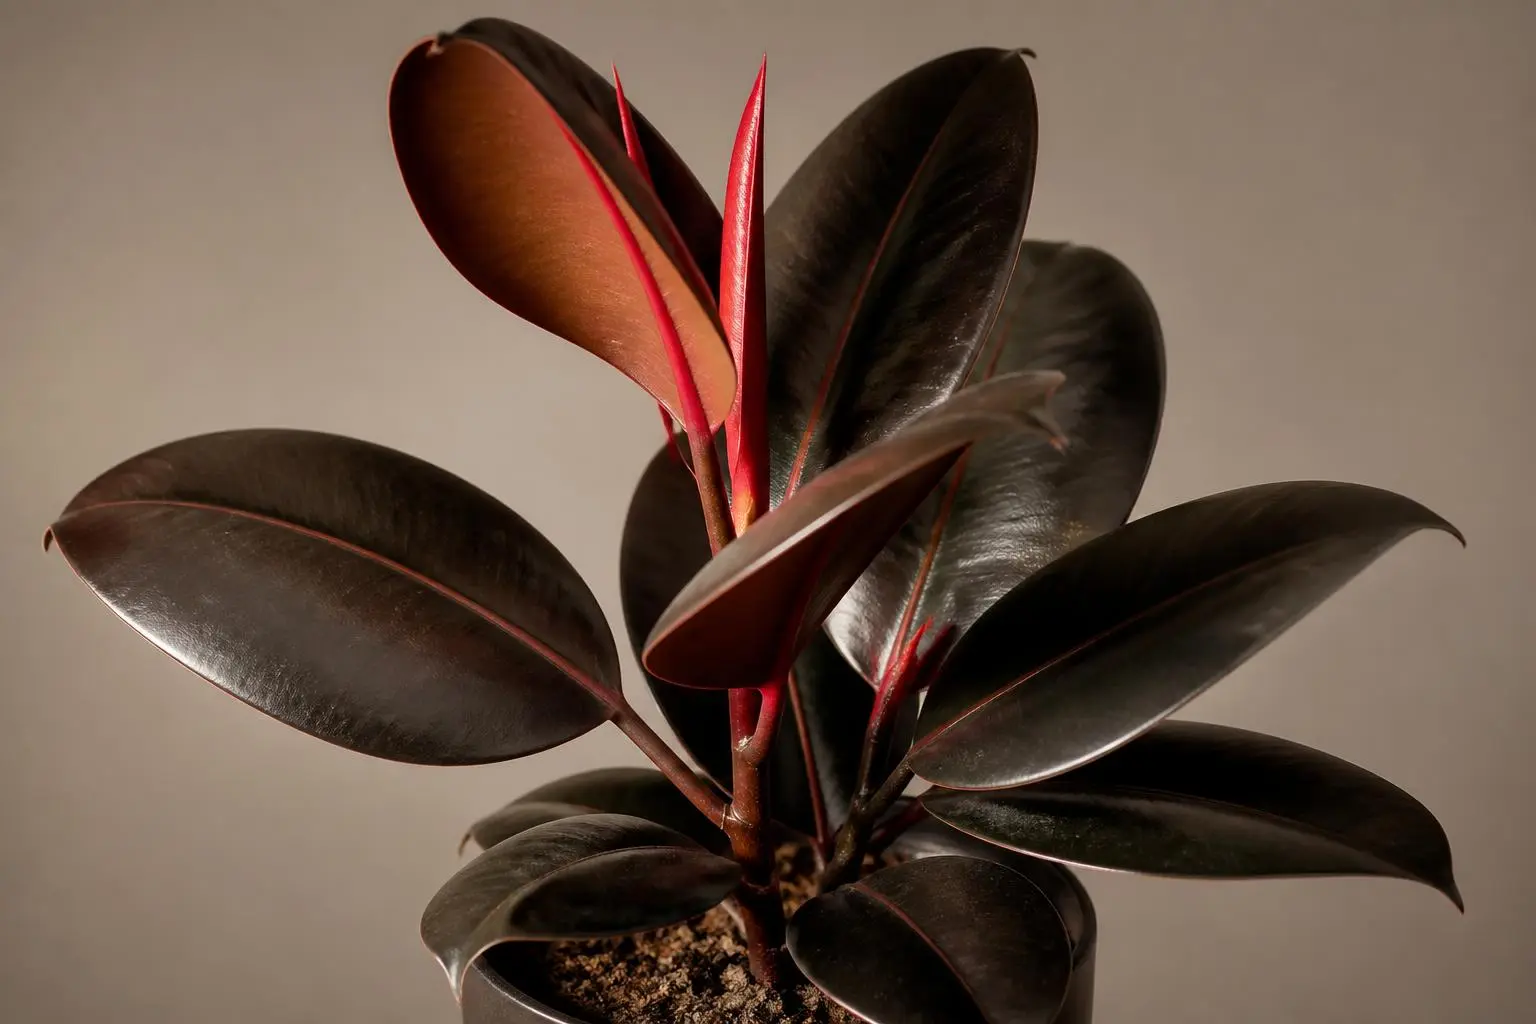 Burgundy
 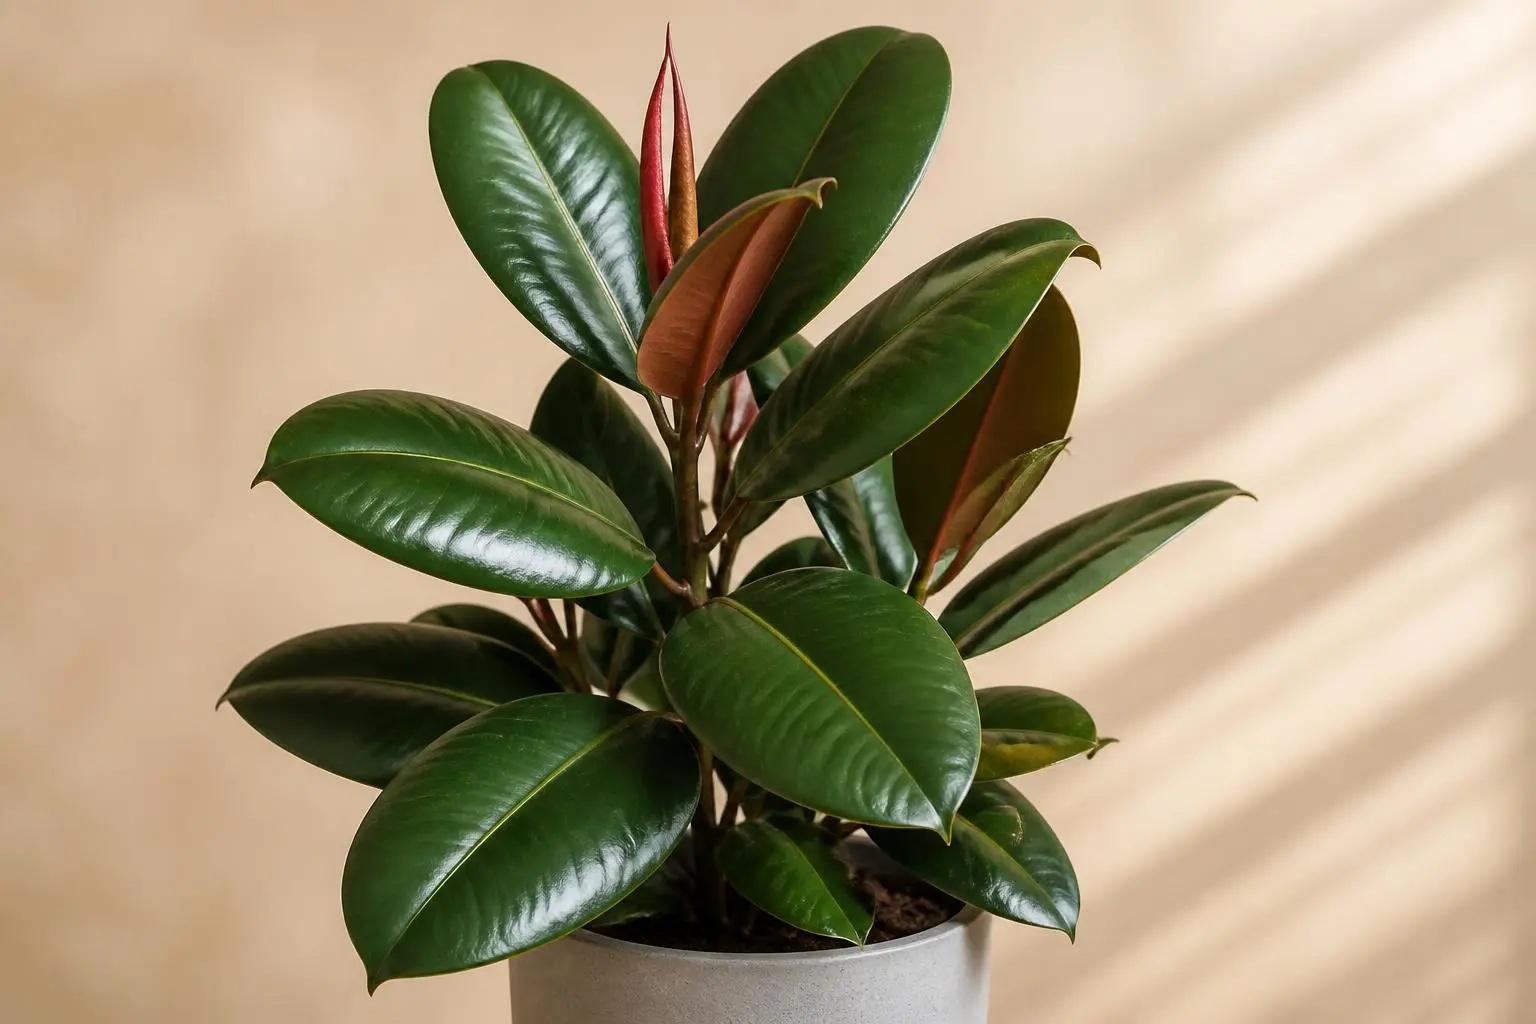 Decora
 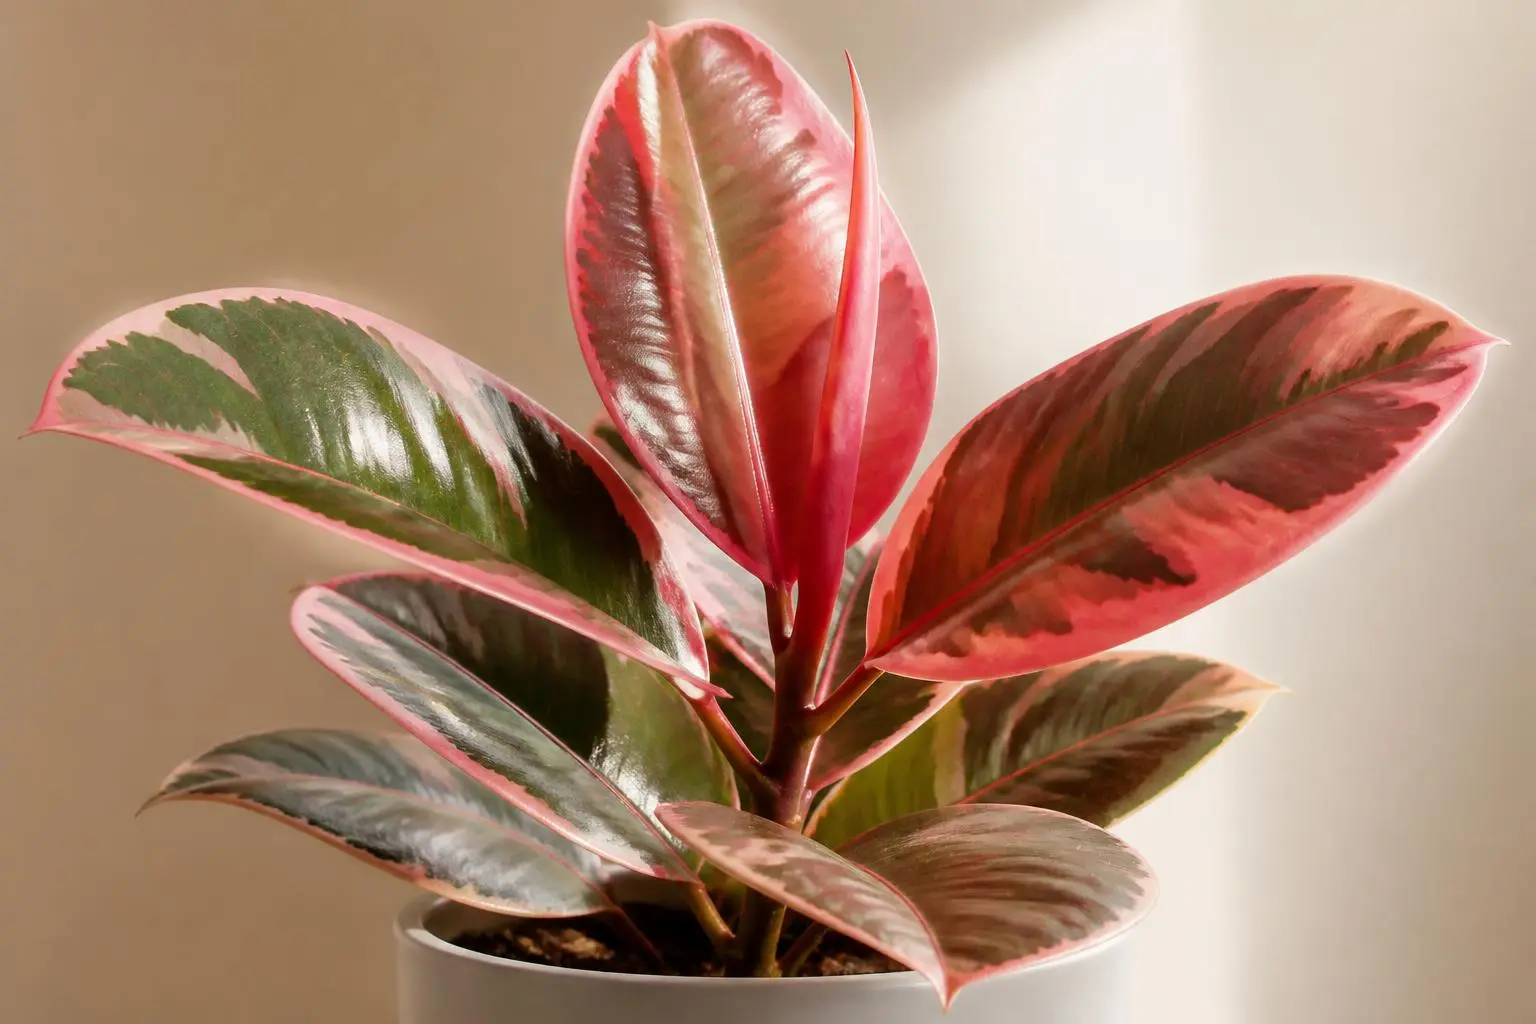 Ruby
Ruby Compare Varieties
Explore different cultivars side-by-side and find the best match for your space.
Browse all varieties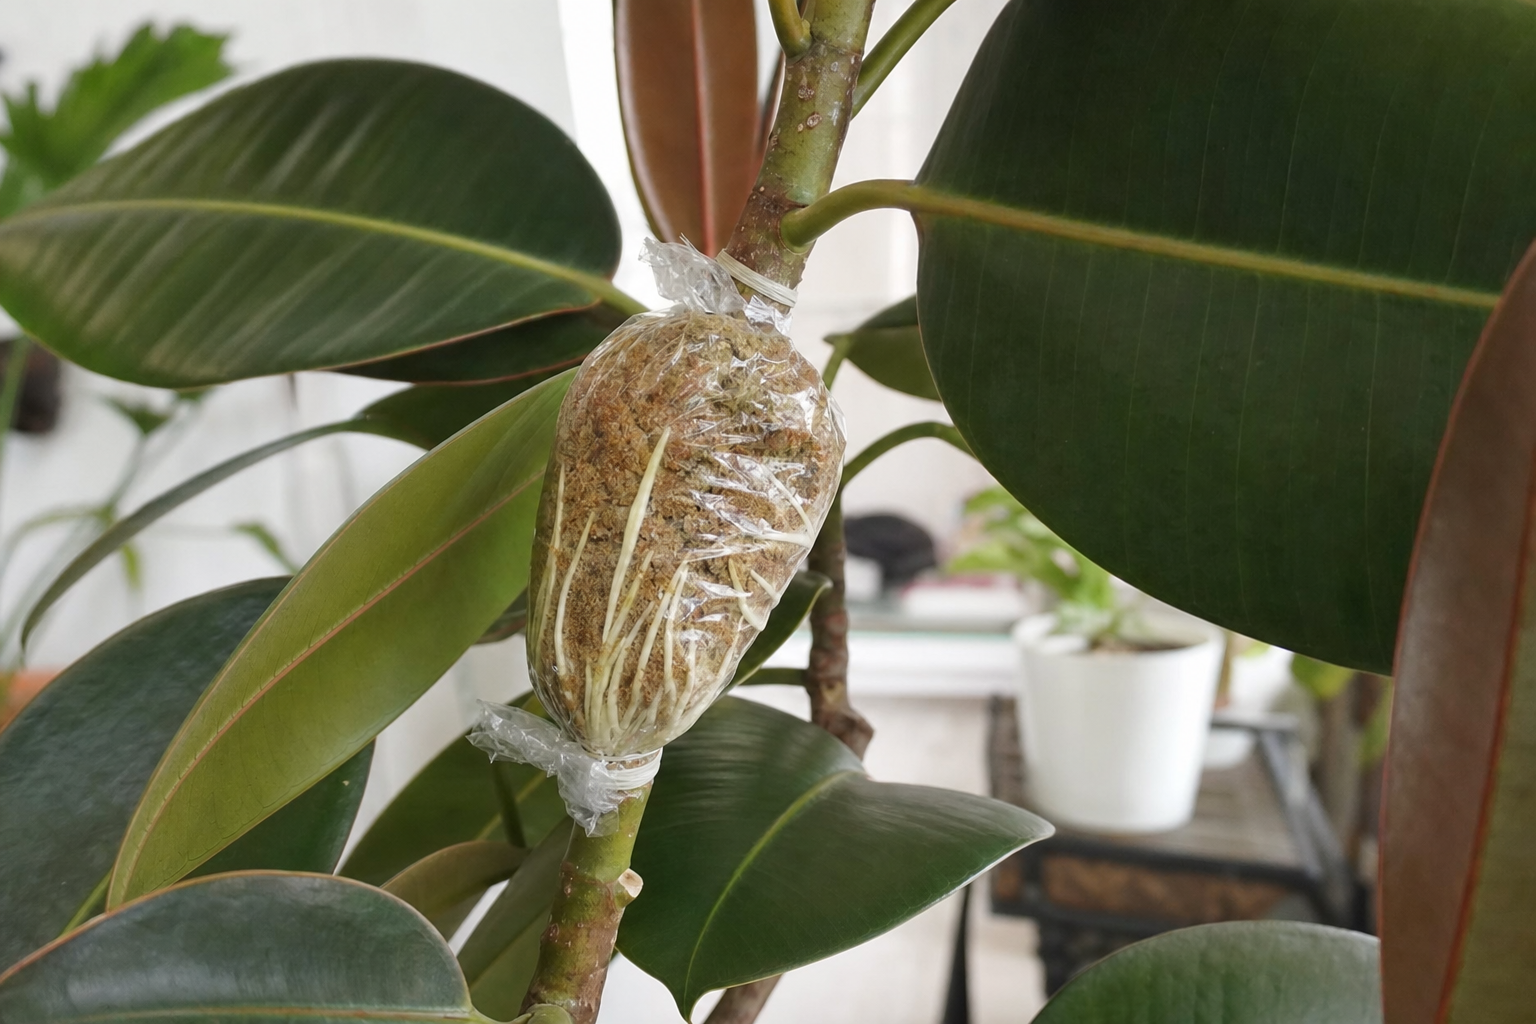
Propagation Guide
Step-by-step instructions for multiplying your plant collection.
Learn how to propagateFrequently Asked Questions
Why is my rubber plant dropping leaves?
Why does my rubber plant have brown spots on the leaves?
Can a rubber plant survive in low light?
How often should I water my rubber plant?
How do I propagate a rubber plant?
Should I prune my rubber plant?
Is rubber plant sap dangerous?
Can rubber plants tolerate cold temperatures?
Common Problems
Why Are My Plant Leaves Turning Yellow?
Yellowing leaves are one of the most common houseplant problems. The good news is that most causes are easy to identify and fix once you know what to look for.
Read diagnosis guideHow to Fix an Overwatered Plant
Overwatering kills more houseplants than any other cause. The tricky part? The symptoms — yellowing, wilting, drooping — look just like underwatering. Here's how to tell the difference and fix it.
Read diagnosis guideReferences
- [1] Royal Horticultural Society. Ficus elastica
- [2] ASPCA. Ficus elastica Toxicity
- [3] University of Florida IFAS Extension. Ficus elastica — Rubber Tree
- [4] Missouri Botanical Garden. Ficus elastica
Similar Plants
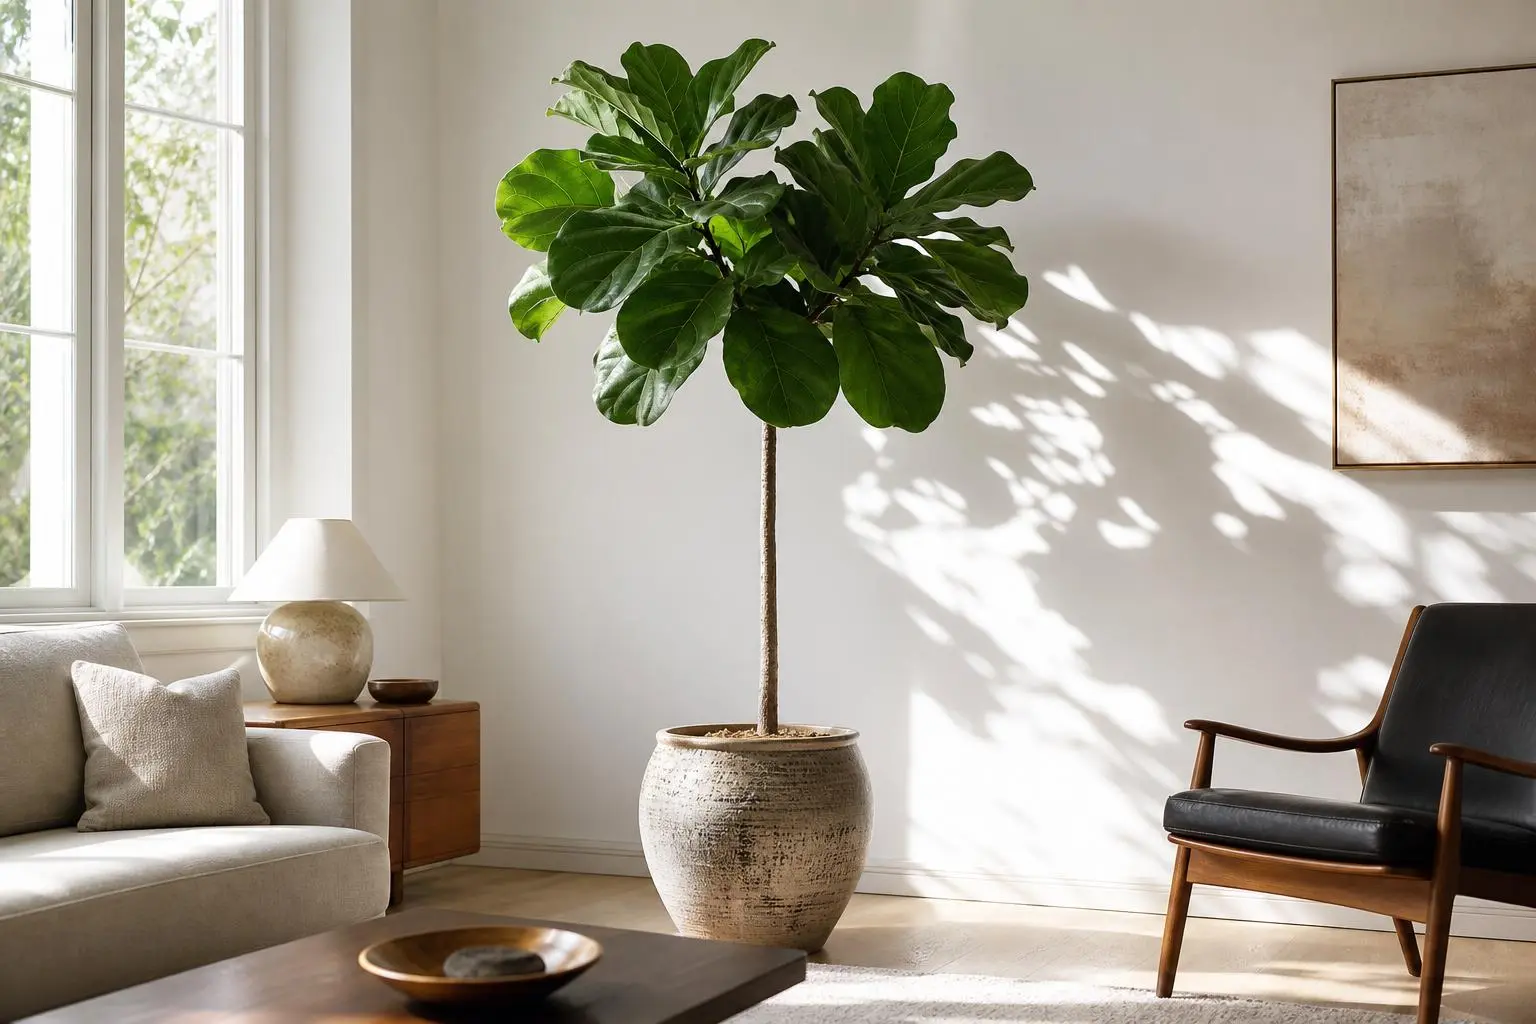
Fiddle Leaf Fig
Ficus lyrata
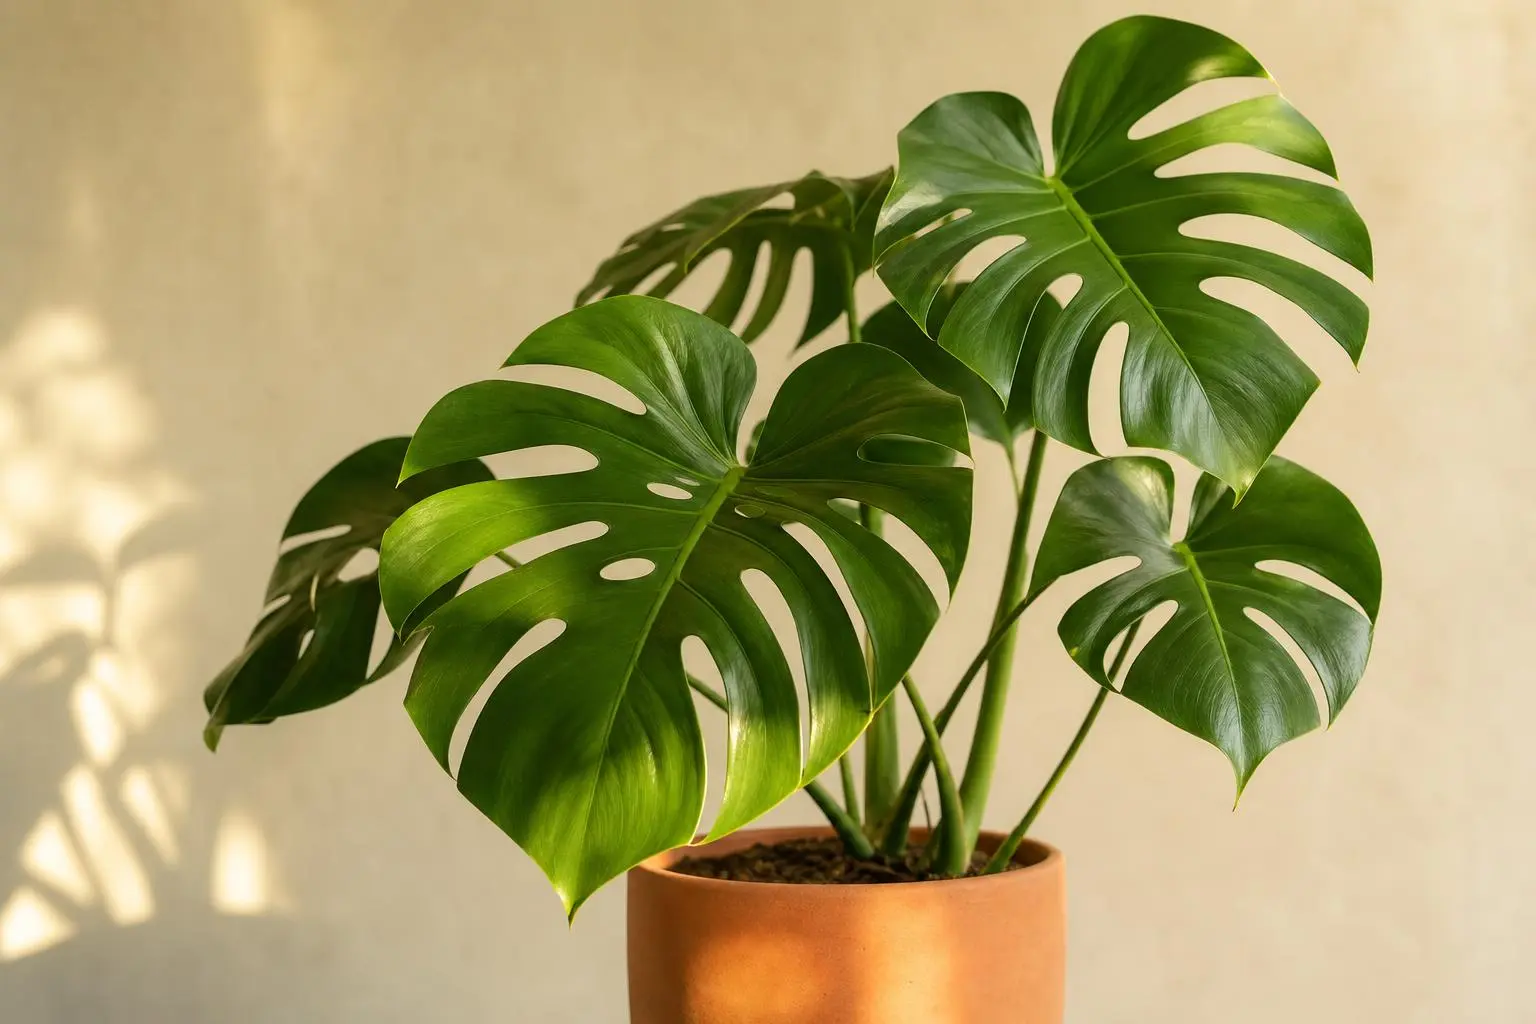
Monstera Deliciosa
Monstera deliciosa
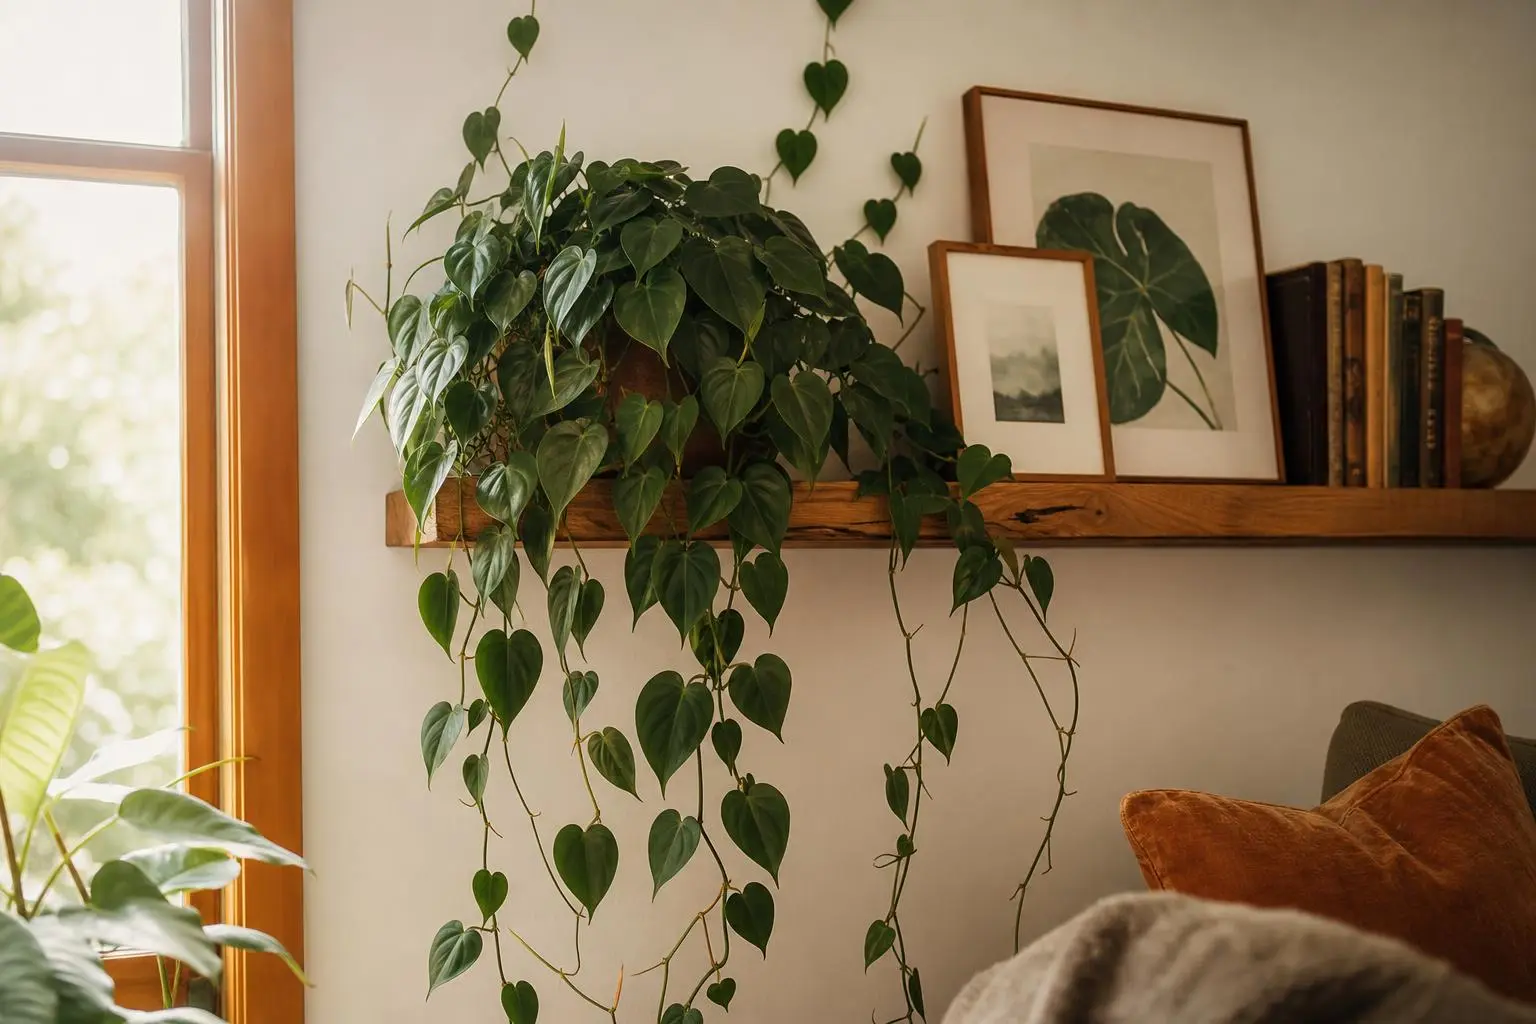
Philodendron
Philodendron hederaceum