
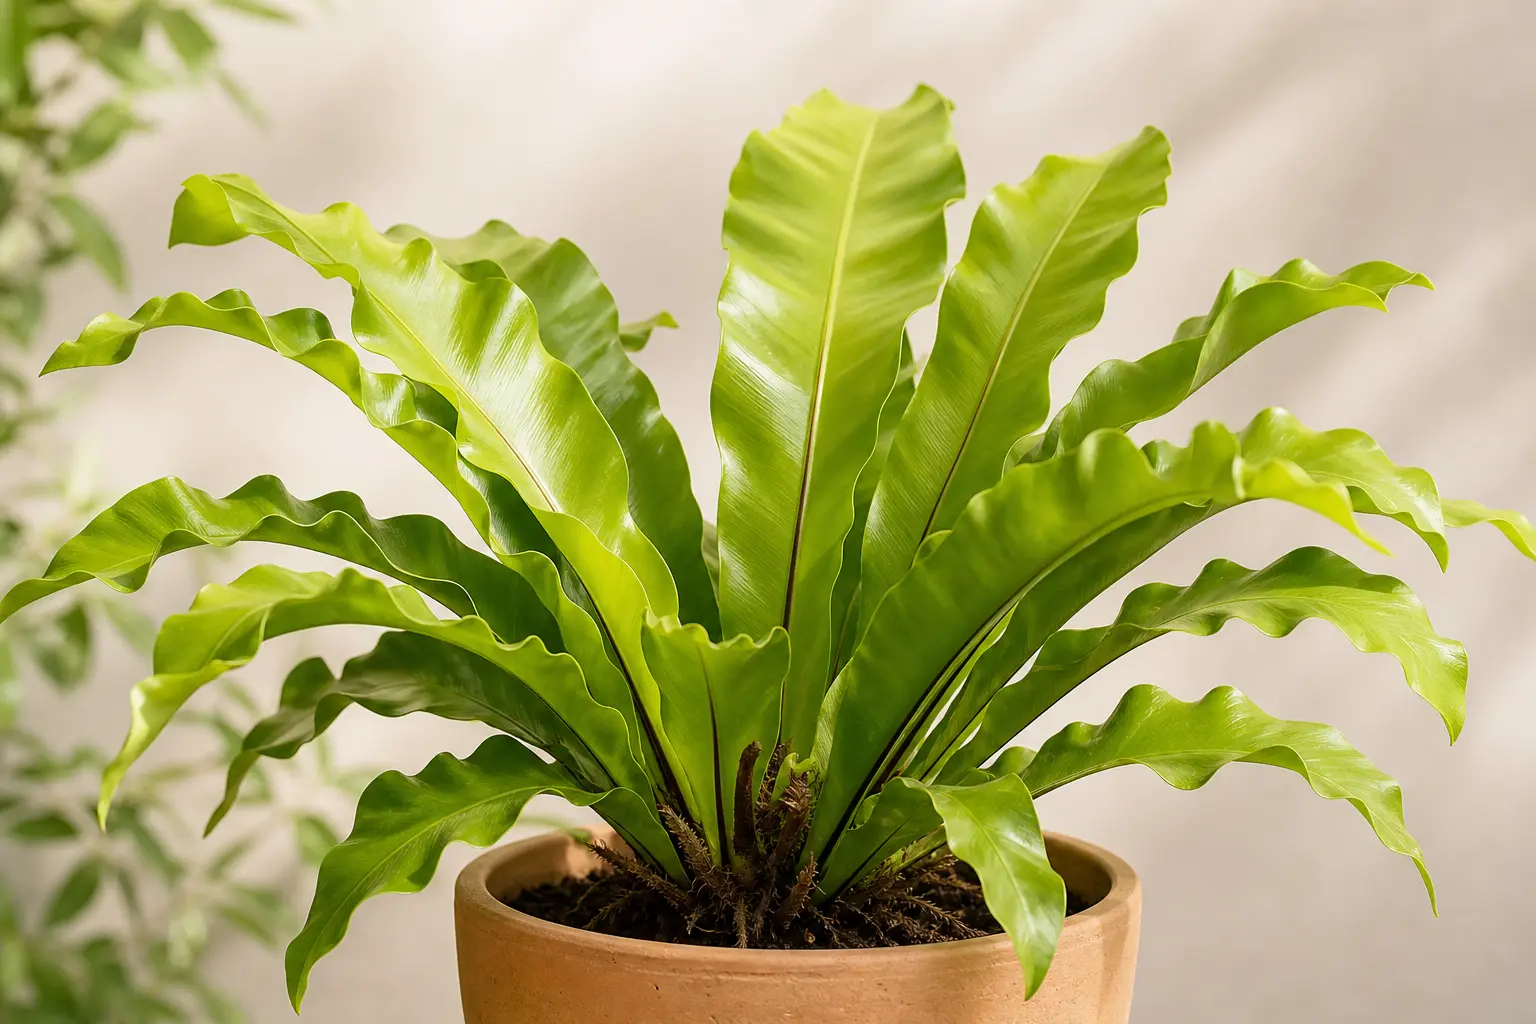
Bird's Nest Fern
Asplenium nidus
Also known as: Bird's Nest Fern, Nest Fern, Asplenium nidus
Last updated: Sep 10, 2026
Medium to low indirect light
When top inch of soil is dry — never the crown
60–80% (the higher the better)
65–85°F (18–29°C)
Loose, peat-based mix with bark and perlite
Diluted balanced fertilizer monthly in spring/summer
Intermediate
Pet safe
Seasonal Care Calendar
| Season | Watering | Fertilizer | Notes |
|---|---|---|---|
| Spring | Every 5–7 days | Monthly half-strength | Best time to repot. New fronds emerge — watch for crown rot from accidental water. |
| Summer | Every 5–7 days | Monthly half-strength | Peak growing season. Maintain high humidity. Can summer outdoors in deep shade. |
| Fall | Every 7–10 days | Reduce to bi-monthly | Bring outdoor specimens inside. Watch for cold drafts as heating starts. |
| Winter | Every 10–14 days | None | Lower light slows growth. Run humidifier daily — heating dries air rapidly. |
Detailed Care Guide
Everything you need to know to keep your Bird's Nest Fern thriving.
Light Requirements
Bird's Nest Fern thrives in medium to low indirect light, mimicking the dappled sunlight that filters through the rainforest canopy where it naturally grows as an epiphyte on tree branches. An east or north-facing window is ideal — bright enough to support healthy frond development without exposing the delicate leaves to scorching direct sun. South or west-facing locations work too, provided the plant is set back several feet from the glass or filtered through sheer curtains.
Direct sunlight is the fastest way to damage a Bird's Nest Fern. Even an hour of harsh afternoon sun can bleach the fronds, leaving pale patches that turn brown and crispy. The thin, undivided leaves are especially vulnerable because they lack the waxy coating found on many tropical houseplants. If you notice yellowing or scorched tips on the side facing the window, move the plant farther away or rotate it so different fronds get equal exposure.
In very low light, growth slows dramatically, and new fronds may emerge smaller, paler, and with weaker rippled edges. While Bird's Nest Fern tolerates lower light better than most ferns, prolonged dim conditions will eventually cause the rosette to thin out and lose its lush appearance. If your space is dark, consider supplementing with a grow light placed about 18–24 inches above the crown for 8–10 hours per day. The plant rewards consistent, gentle light with steady production of fresh, vibrant green fronds from the fuzzy center.
Watering
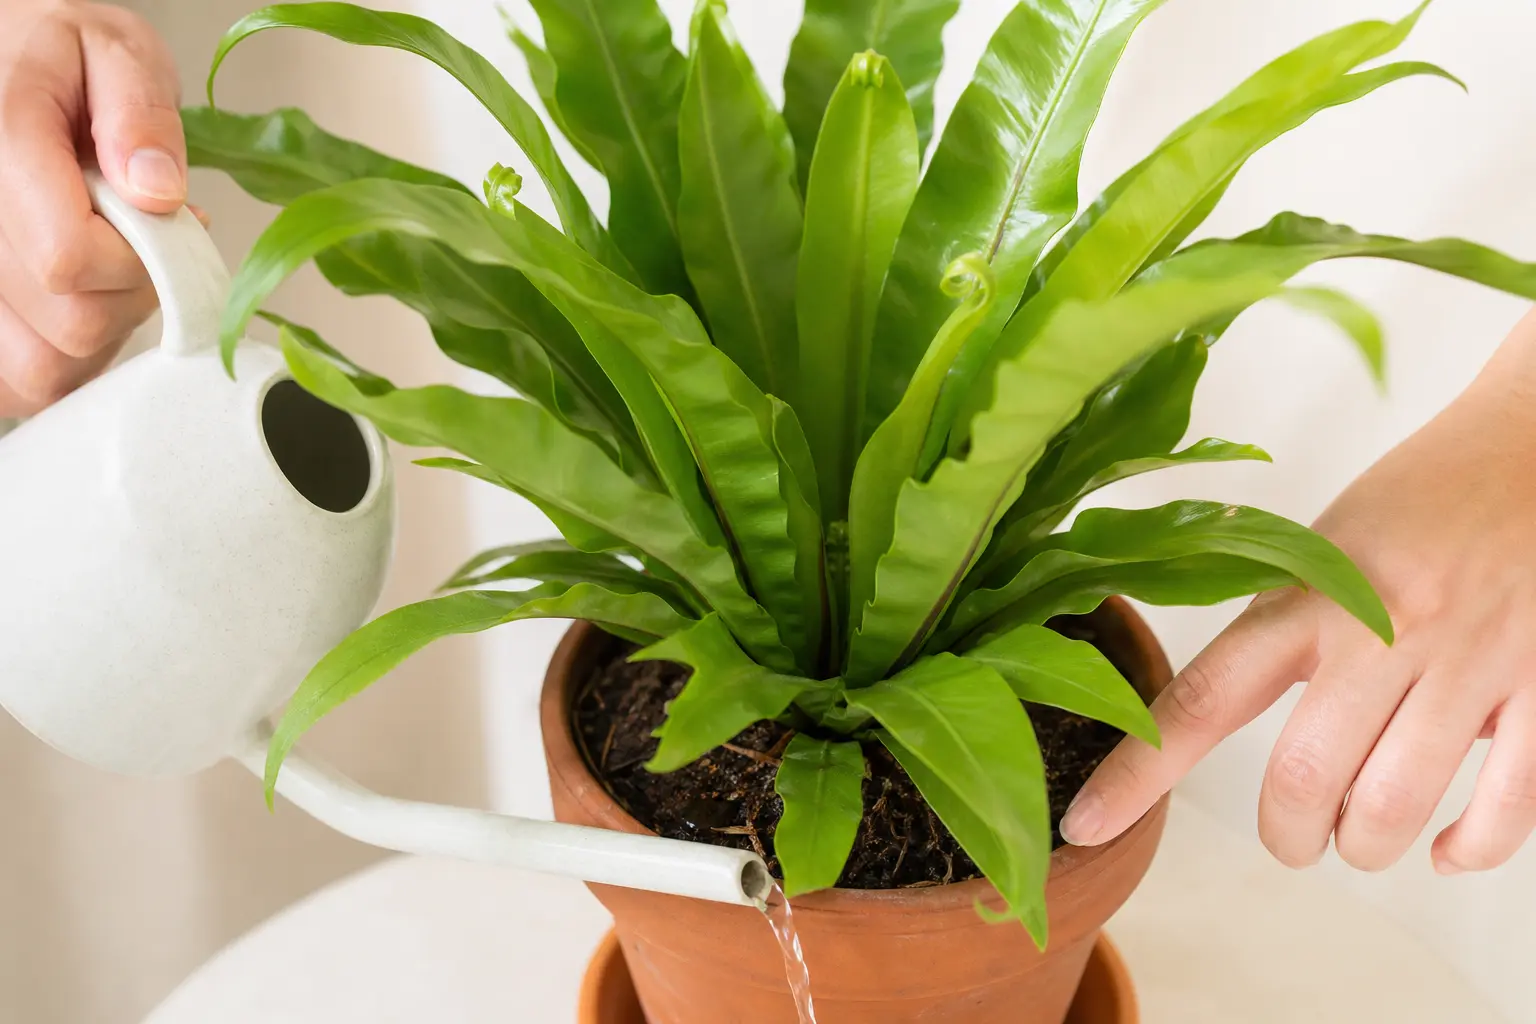
Watering Bird's Nest Fern correctly is the single most important skill for keeping it healthy. Water when the top inch of soil feels dry to the touch — typically every 5–10 days depending on humidity, light, and pot size. The plant prefers consistently moist soil but never soggy conditions, and it absolutely cannot tolerate sitting in water. In its native habitat, frequent rains drain quickly through the bark and moss it grows on, and your pot should mimic this fast-draining behavior.
Never water directly into the central rosette (the 'nest').** This is the cardinal rule of Bird's Nest Fern care. The fuzzy crown at the center collects new fronds as they unfurl, and water trapped there will rot the developing leaves and potentially kill the entire plant. Instead, water around the edge of the pot, allowing moisture to soak into the soil and reach the roots from below. If water accidentally pools in the crown, gently tip the plant to drain it and dab the area dry with a soft cloth.
When watering, do so thoroughly until water flows from the drainage holes, then empty the saucer completely after a few minutes. Use room-temperature water — cold water can shock the roots and cause leaf damage. Tap water containing chlorine or fluoride is a common cause of brown frond tips; if your water is heavily treated, let it sit out for 24 hours before watering, or use filtered or rainwater. In winter, reduce watering frequency as growth slows, but never let the soil dry out completely. Crispy brown edges usually indicate either too-dry soil or low humidity, while soft mushy fronds at the base point to overwatering or rot in the crown.
Humidity
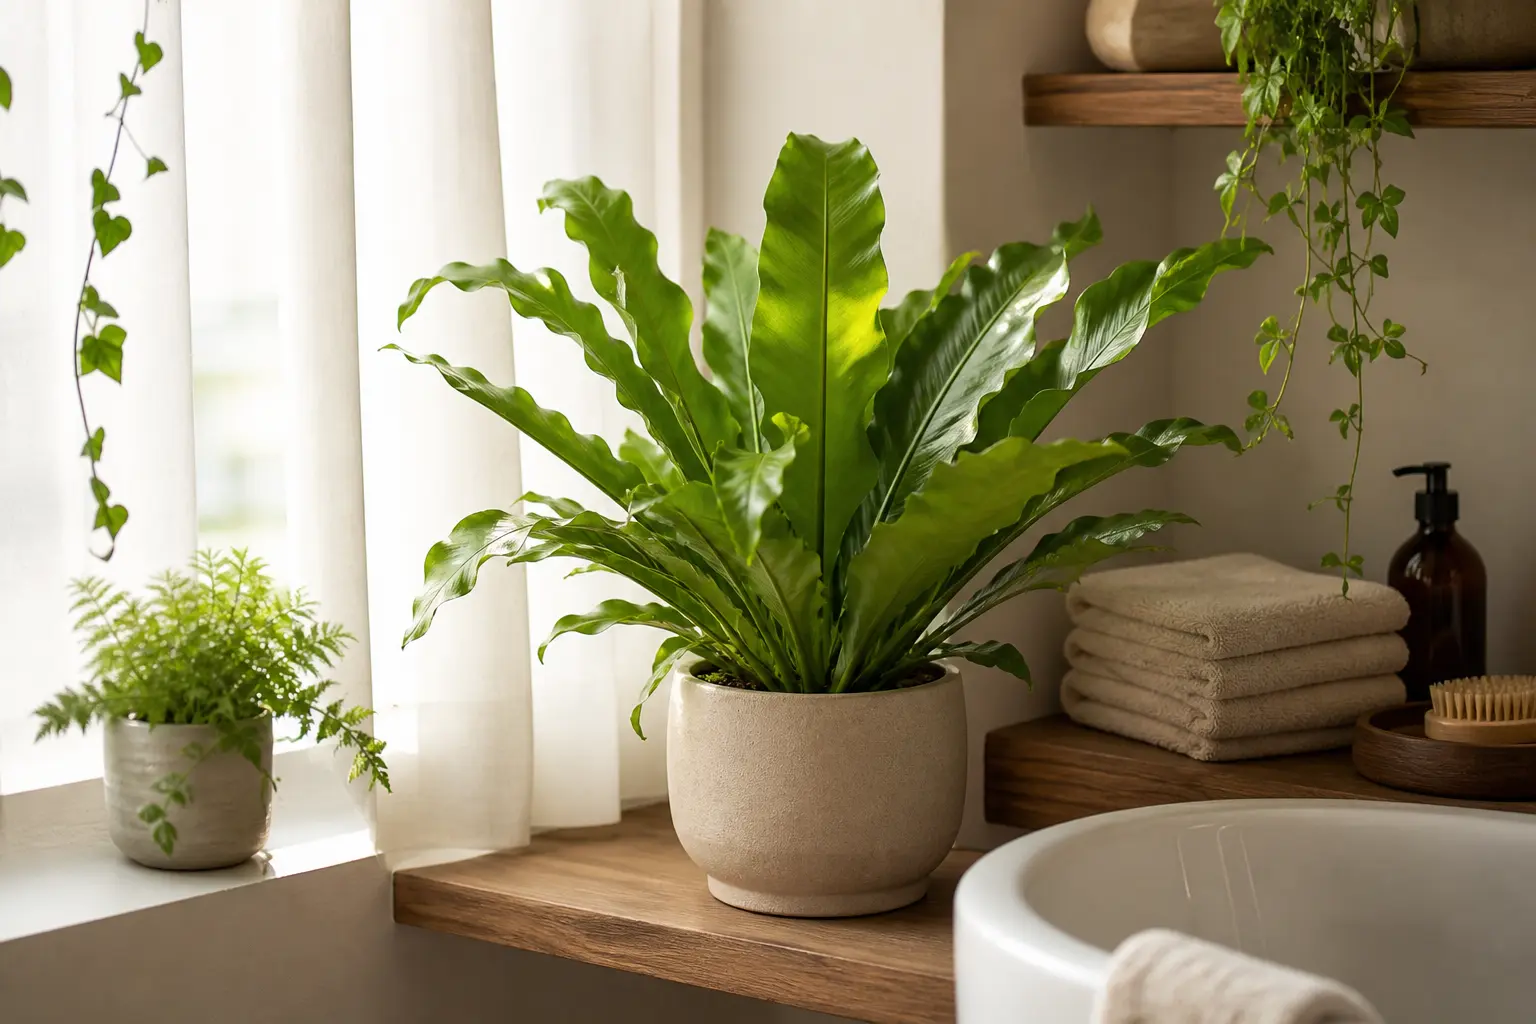
Bird's Nest Fern is a true humidity lover and one of the most demanding houseplants in this regard. It thrives at 60–80% humidity — the higher the better — and average indoor air (often 30–40%) is barely adequate. Without sufficient moisture in the air, fronds develop brown crispy edges, growth slows, and the plant looks perpetually stressed. This is why bathrooms with frequent shower steam are one of the best locations for this fern.
The most reliable way to maintain proper humidity is a small humidifier running near the plant for several hours each day, especially in winter when heating systems dry the air. A pebble tray (a shallow dish filled with pebbles and water, with the pot resting on top of the pebbles — never in the water) provides modest local humidity and works well for smaller specimens. Grouping Bird's Nest Fern with other humidity-loving plants creates a beneficial microclimate where each plant's transpiration helps the others.
Misting can help temporarily but should never replace proper humidity management — and importantly, mist the air around the fern, not the fronds themselves, since water sitting on the leaves can encourage fungal spotting. Avoid placing this fern near heating vents, fireplaces, or air conditioners, all of which create extremely dry air that will damage the foliage within days. If you notice persistent brown edges despite proper watering, low humidity is almost always the culprit, and a humidifier will solve the problem within a week or two of consistent use.
Temperature
Bird's Nest Fern prefers warm, stable temperatures between 65–85°F (18–29°C), reflecting its tropical rainforest origins. It tolerates household temperatures comfortably but will suffer if exposed to anything below 55°F (13°C) for extended periods. Cold drafts from open winter doors, drafty windows, or air-conditioning vents can cause sudden frond yellowing and stress the entire plant. Likewise, hot dry air from heating registers will scorch the delicate leaves.
Keep this fern away from temperature extremes and rapid fluctuations. A consistent location with stable temperatures yields far better growth than a spot with brighter light but variable conditions. If you keep your home cool in winter, provide extra warmth by avoiding cold windowsills and moving the plant slightly farther into the room. In summer, ensure adequate humidity to offset the drying effect of air conditioning, and never place the fern in direct airflow from any vent.
Bird's Nest Fern can spend warm summer months outdoors in a sheltered, fully shaded location with high humidity — a covered porch facing east or under dense tree cover works well. Acclimate gradually over 7–10 days when moving outdoors, and watch for any cold snap forecasts. Bring the plant back indoors before nighttime temperatures fall below 60°F (15°C). The combination of fresh air, natural humidity, and gentle warmth often produces a noticeable growth spurt, with new fronds unfurling rapidly from the central crown.
Soil
As an epiphyte, Bird's Nest Fern needs an extremely loose, airy potting mix that drains quickly while retaining some moisture for the fine roots. Standard potting soil is too dense and water-retentive — it will suffocate the roots and lead to rot. The ideal mix combines roughly 50% peat moss or coco coir for moisture retention, 25% orchid bark for chunkiness and air pockets, and 25% perlite for drainage. A small amount of horticultural charcoal helps prevent the mix from souring over time.
If you prefer a pre-made option, a high-quality fern or African violet mix amended with extra perlite and orchid bark works well. Avoid heavy garden soil, dense potting mixes, and anything containing moisture-retaining crystals — these all hold water against the roots and create the soggy conditions that kill Bird's Nest Fern. The mix should feel light and fluffy in your hand, similar to coarse forest litter rather than fine garden dirt.
Use a pot with multiple drainage holes — a shallow, wide pot suits the fern's spreading root system better than a deep narrow one. Terracotta is a popular choice because it wicks excess moisture away from the soil through its porous walls, helping prevent overwatering. Plastic and glazed ceramic pots retain moisture longer, which can be useful in dry environments but requires more careful watering. Whichever you choose, ensure the pot is only 1–2 inches wider than the root ball; oversized pots hold excess wet soil that the fern's roots cannot reach quickly enough.
Fertilizer
Bird's Nest Fern is a light feeder that responds best to gentle, regular nutrition during the growing season. Apply a balanced liquid fertilizer (such as 20-20-20 or 10-10-10) diluted to half strength once a month from spring through early fall. Fertilizer is the boost that produces those vibrant new fronds, but ferns are sensitive to fertilizer salts and easily burned by full-strength applications.
Never apply fertilizer to dry soil — always water thoroughly first, then follow with the diluted fertilizer solution. Applying nutrients to dry roots can cause chemical burn that shows up as brown leaf edges within days. If you notice white crusty deposits on the soil surface or pot rim, this is fertilizer salt buildup, which can damage roots over time. Flush the pot thoroughly with plain water (run water through the soil for 60–90 seconds) every 3–4 months to leach out accumulated salts.
In fall and winter, when growth naturally slows, stop fertilizing entirely or reduce to once every 8–10 weeks at quarter strength. Excess fertilizer during the dormant period can disrupt the plant's natural rest cycle and cause weak, leggy growth in spring. If your fern has been recently repotted into fresh soil, hold off on fertilizing for 4–6 weeks to allow the roots to settle. Many growers find that with a high-quality potting mix and yearly repotting, Bird's Nest Fern needs minimal supplemental feeding to thrive.
Repotting
Bird's Nest Fern grows slowly and only needs repotting every 2–3 years, or when you see roots crowding the surface and emerging from drainage holes. Spring is the best time, just as new fronds begin to unfurl from the central crown — the plant has the most energy then to recover from root disturbance. Choose a pot only 1–2 inches wider than the current one. Going up too aggressively in pot size leaves a large volume of wet soil that the roots cannot use, leading to rot.
Gently remove the plant by tipping the pot on its side and easing the root ball out — do not pull on the fronds, as the leaves attach directly to the crown and can break off if stressed. Inspect the roots and trim any that are dark, soft, or smelly using clean scissors. Healthy roots are firm and tan to white. Tease the root ball gently to loosen any compacted soil, but do not aggressively pull the roots apart, as ferns dislike root disturbance.
Place fresh, well-draining mix in the new pot, position the plant at the same depth as before (the crown should sit just above the soil line — burying it causes rot), and water thoroughly to settle the soil. Place in a slightly shadier spot than usual for 2–3 weeks while the roots settle, and maintain higher than usual humidity to reduce stress. Some frond yellowing or browning is normal after repotting; affected fronds can be trimmed at the base. New growth should resume within 4–6 weeks, signaling successful establishment.
Our Experience
I keep my Bird's Nest Fern on the bathroom counter where it gets daily steam from the shower and indirect light from a frosted window. The crispy brown edges I struggled with in the living room disappeared within two weeks of moving it here.
— East-facing bathroom, USDA Zone 6b, daily shower humidity
I learned the hard way to never water into the crown — my first fern rotted from the center after I poured water there. Now I always water around the rim of the pot and tilt the plant if any droplets land in the rosette.
— Crown rot recovery lesson, learned after losing first plant
When my apartment hits below 35% humidity in winter, I run a small humidifier on a timer for 4 hours each morning right next to the fern. The new fronds that come in during winter look just as healthy as summer growth — humidity is everything for this plant.
— Winter humidifier routine, NYC apartment, dry forced-air heating
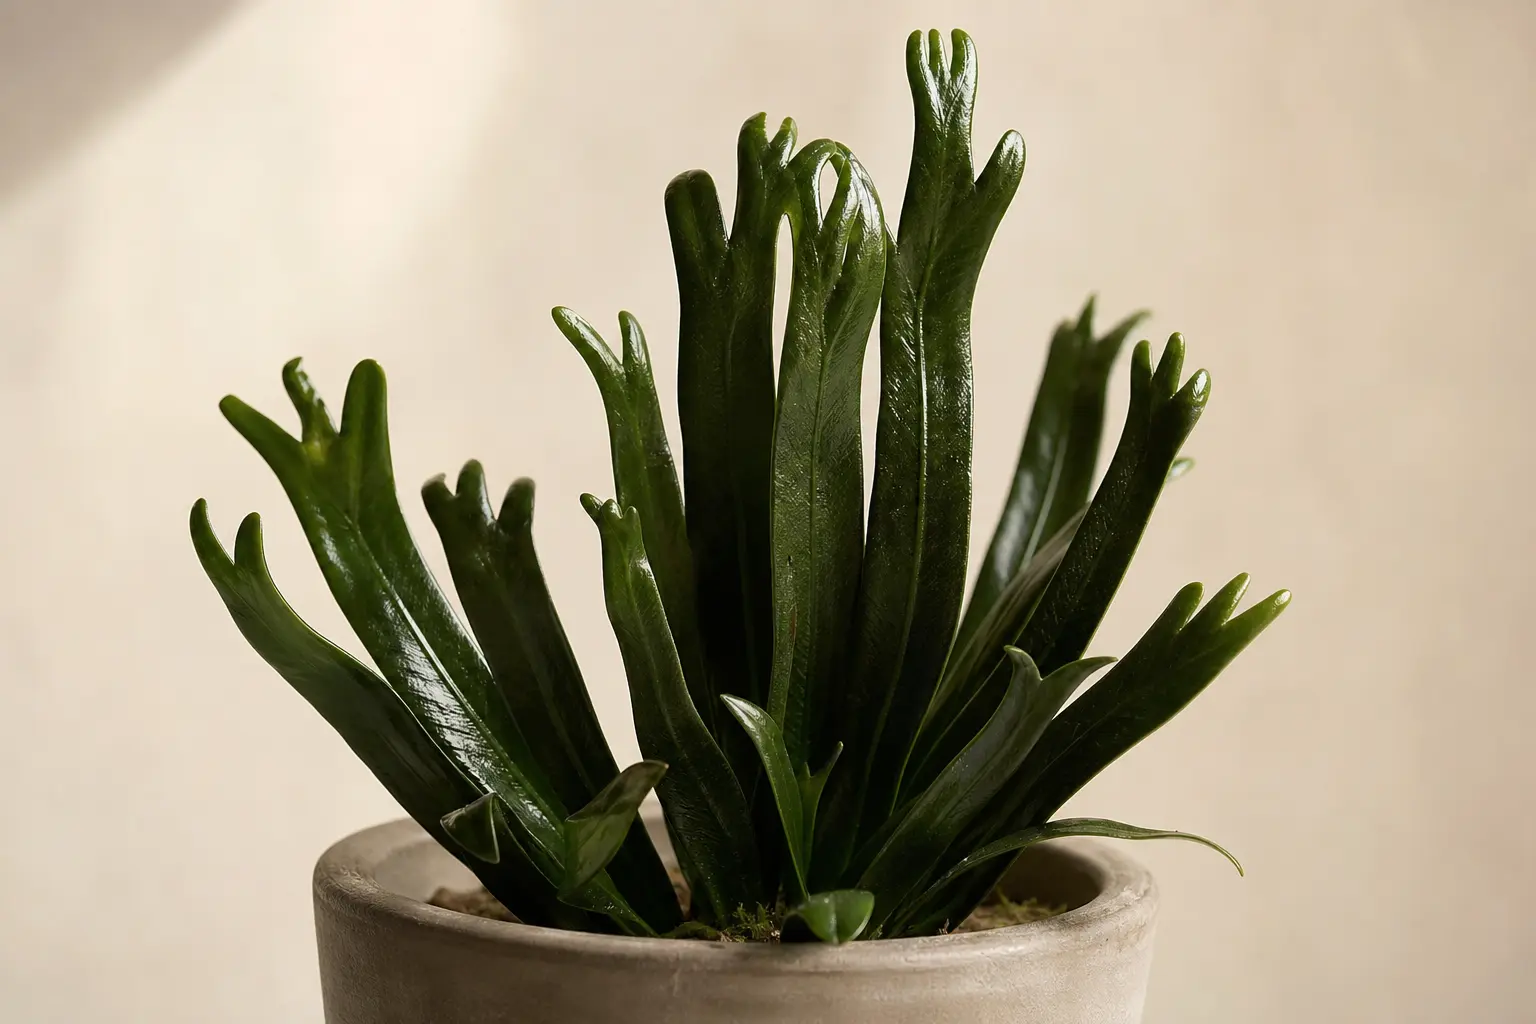 Cobra
Cobra 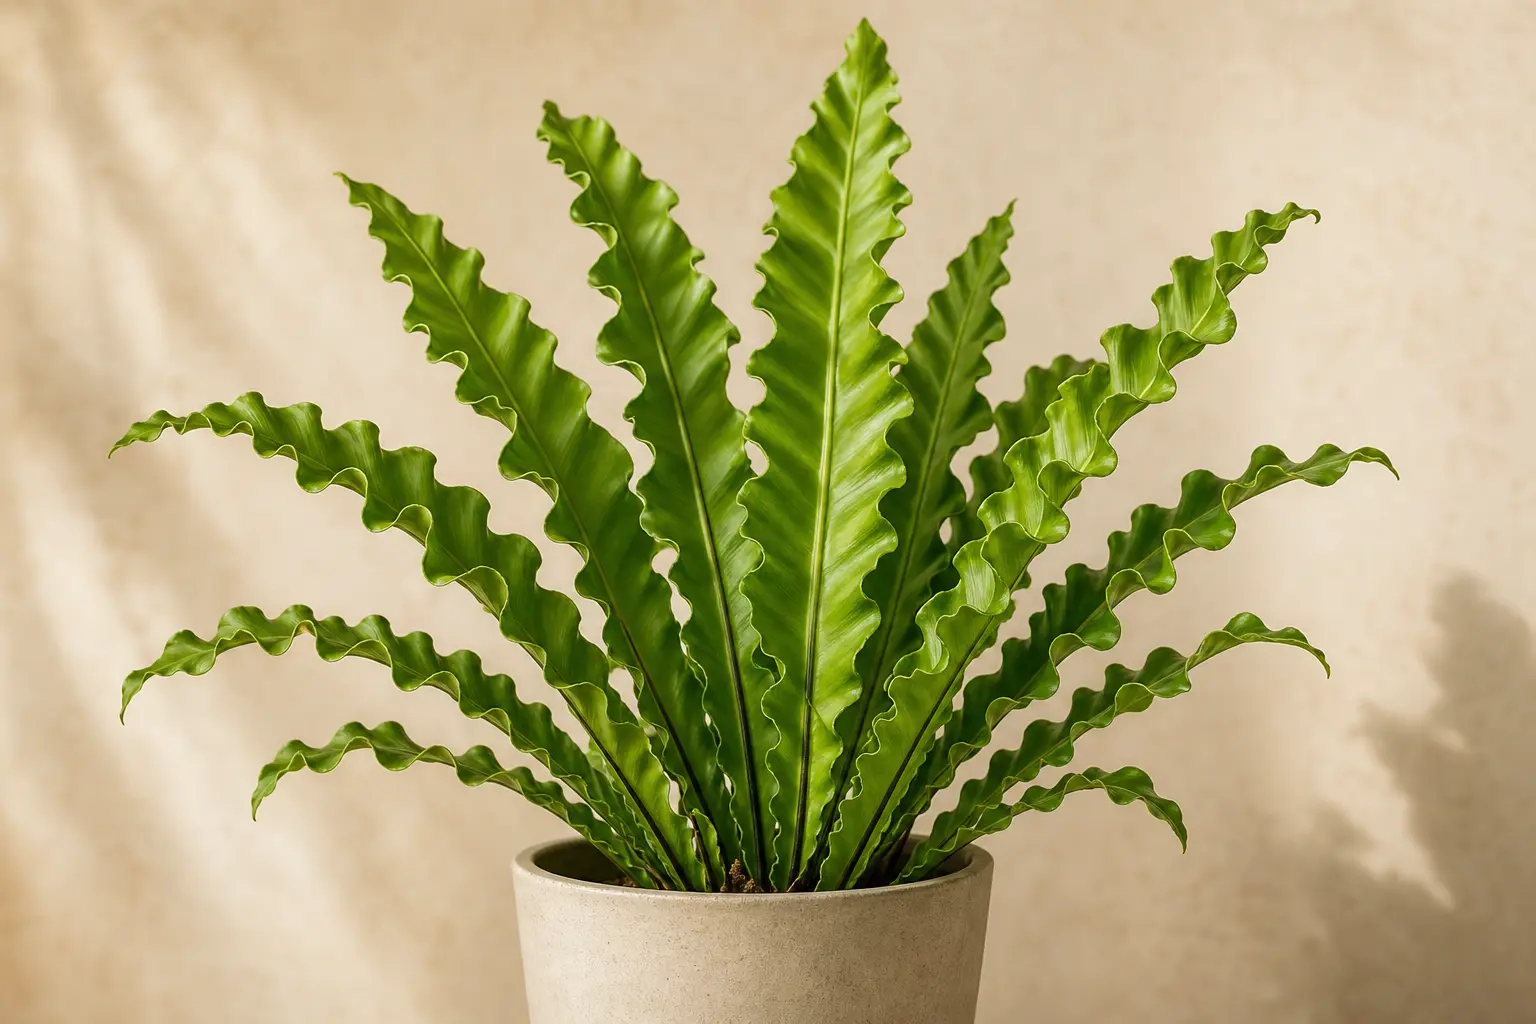 Crispy Wave
 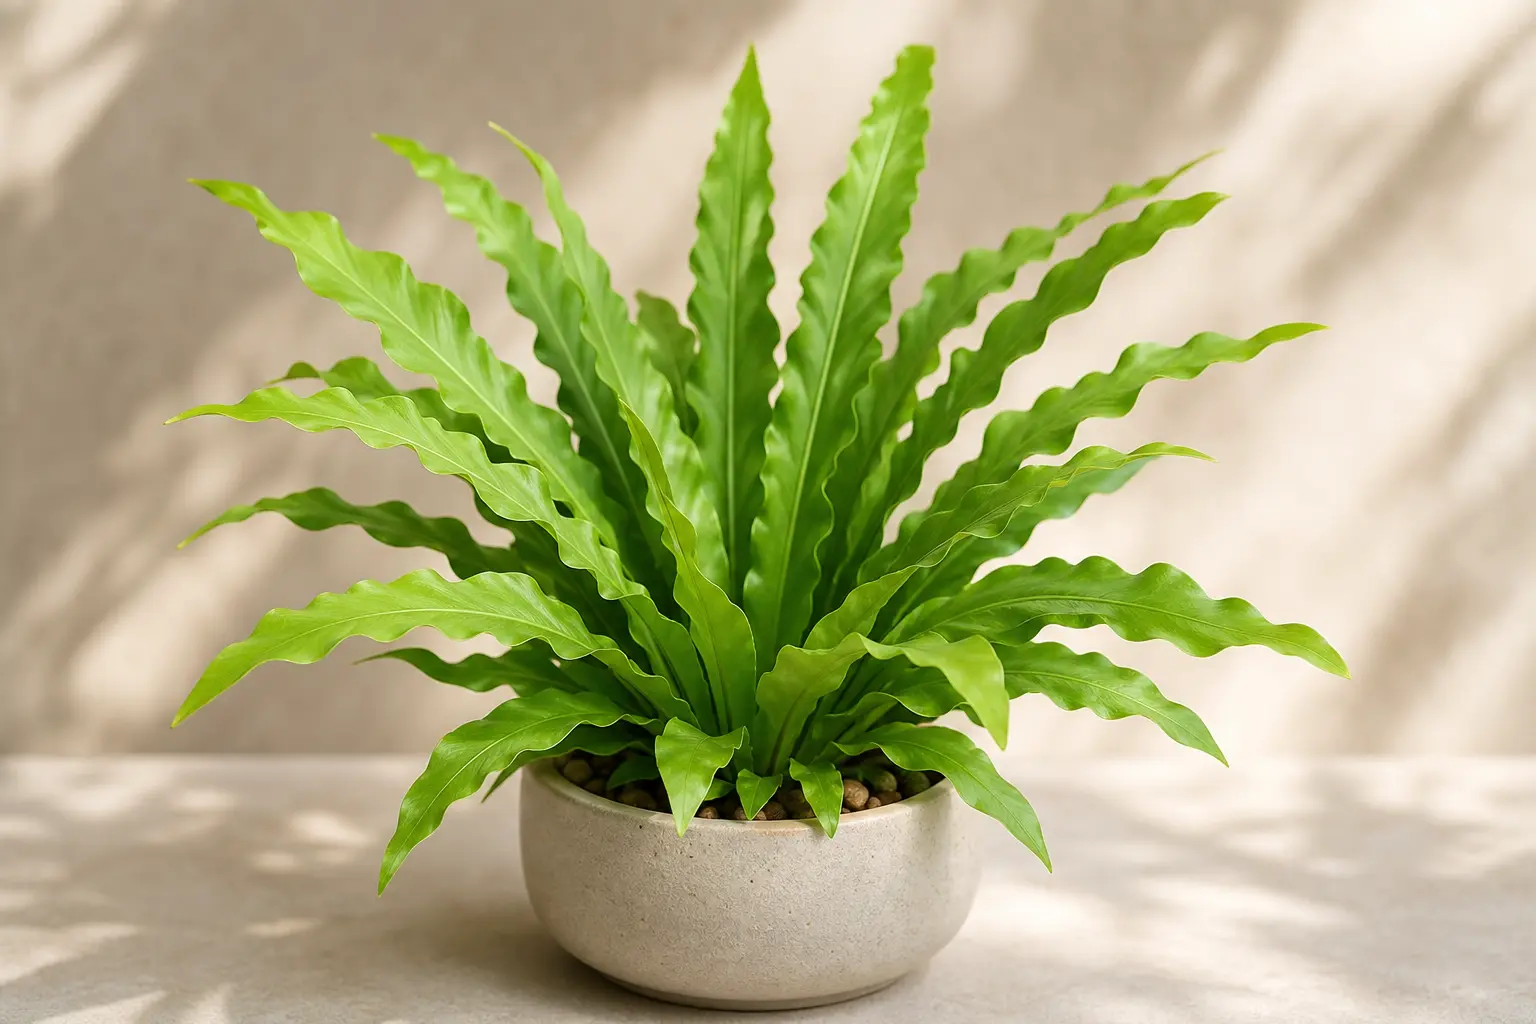 Osaka
Osaka Compare Varieties
Explore different cultivars side-by-side and find the best match for your space.
Browse all varieties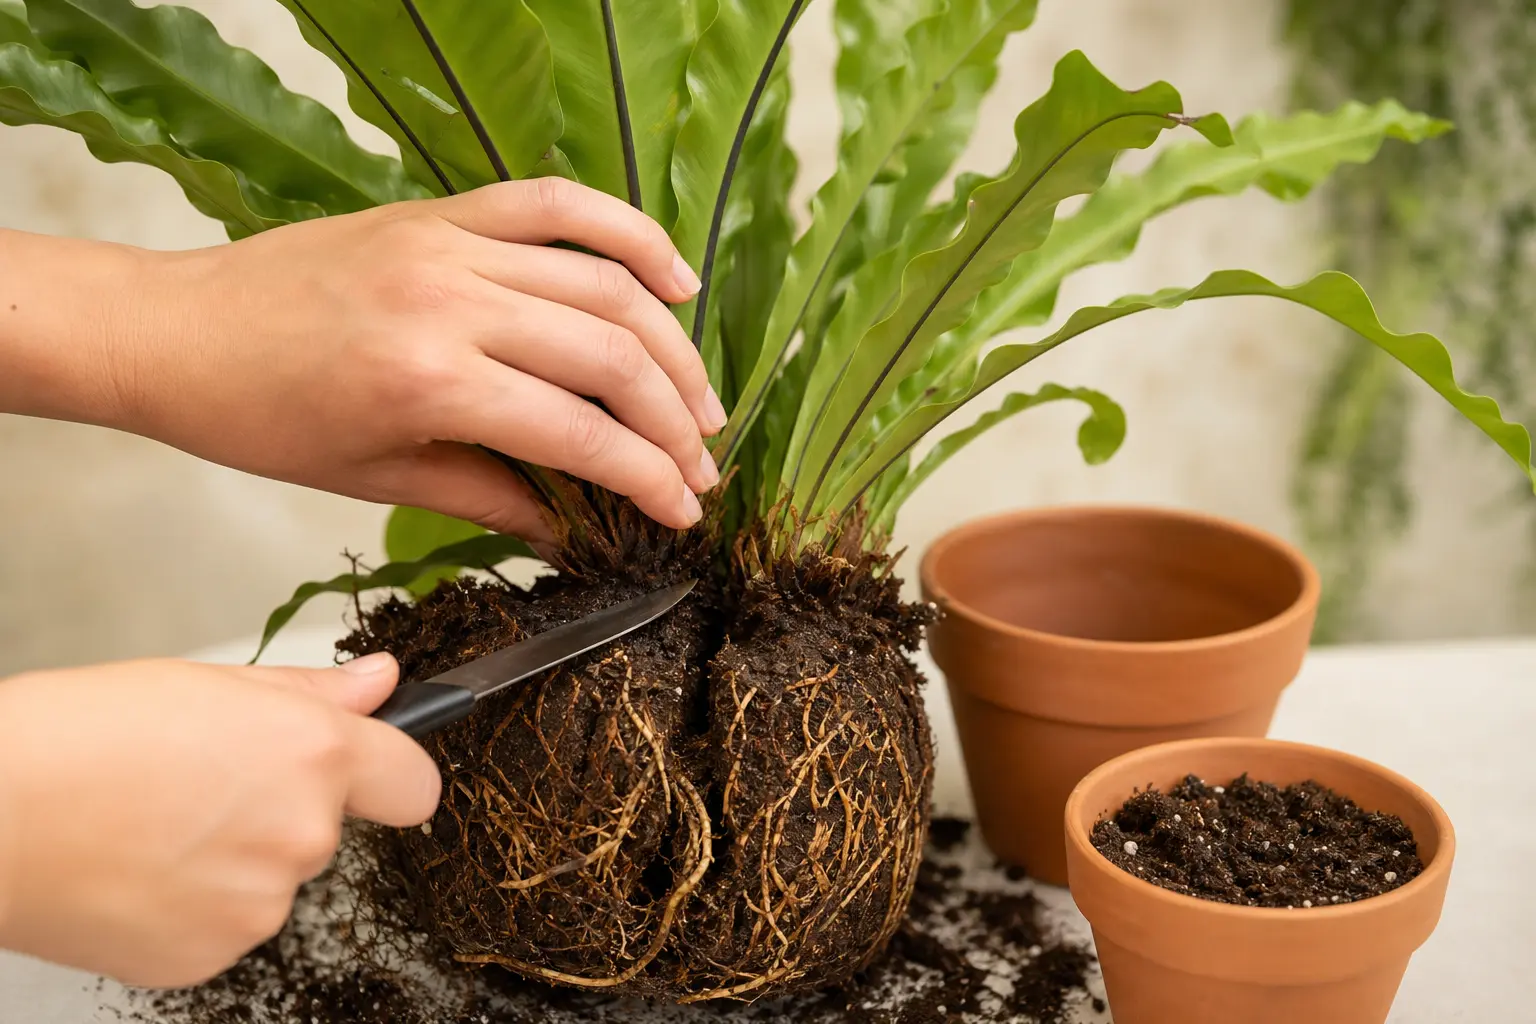
Propagation Guide
Step-by-step instructions for multiplying your plant collection.
Learn how to propagateFrequently Asked Questions
Why does my Bird's Nest Fern have brown crispy edges?
Is Bird's Nest Fern safe for cats and dogs?
How often should I water my Bird's Nest Fern?
Why are the new fronds on my Bird's Nest Fern turning brown before they unfurl?
Can I propagate Bird's Nest Fern from cuttings?
How much light does a Bird's Nest Fern need?
Common Problems
Why Are My Plant Leaves Turning Yellow?
Yellowing leaves are one of the most common houseplant problems. The good news is that most causes are easy to identify and fix once you know what to look for.
Read diagnosis guideHow to Fix an Overwatered Plant
Overwatering kills more houseplants than any other cause. The tricky part? The symptoms — yellowing, wilting, drooping — look just like underwatering. Here's how to tell the difference and fix it.
Read diagnosis guideReferences
- [1] Missouri Botanical Garden. Asplenium nidus Plant Finder
- [2] ASPCA. Bird's Nest Fern Toxicity (Non-Toxic)
- [3] NASA Clean Air Study. Houseplants for Indoor Air Quality
- [4] University of Florida IFAS Extension. Asplenium nidus — Fact Sheet
Similar Plants
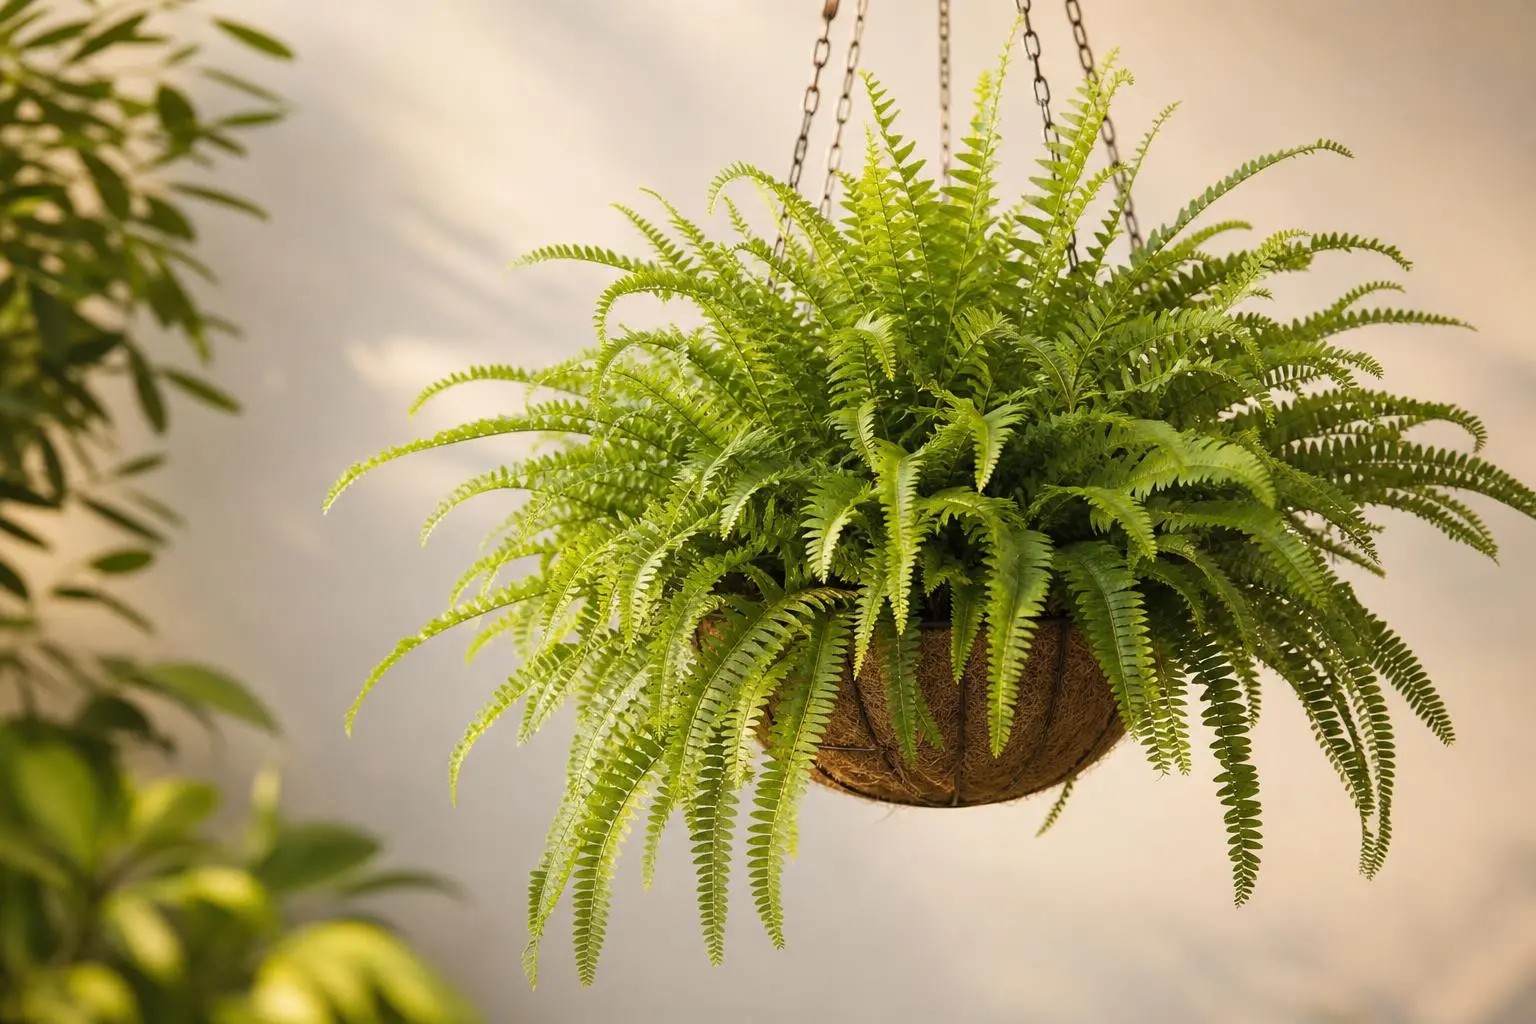
Boston Fern
Nephrolepis exaltata
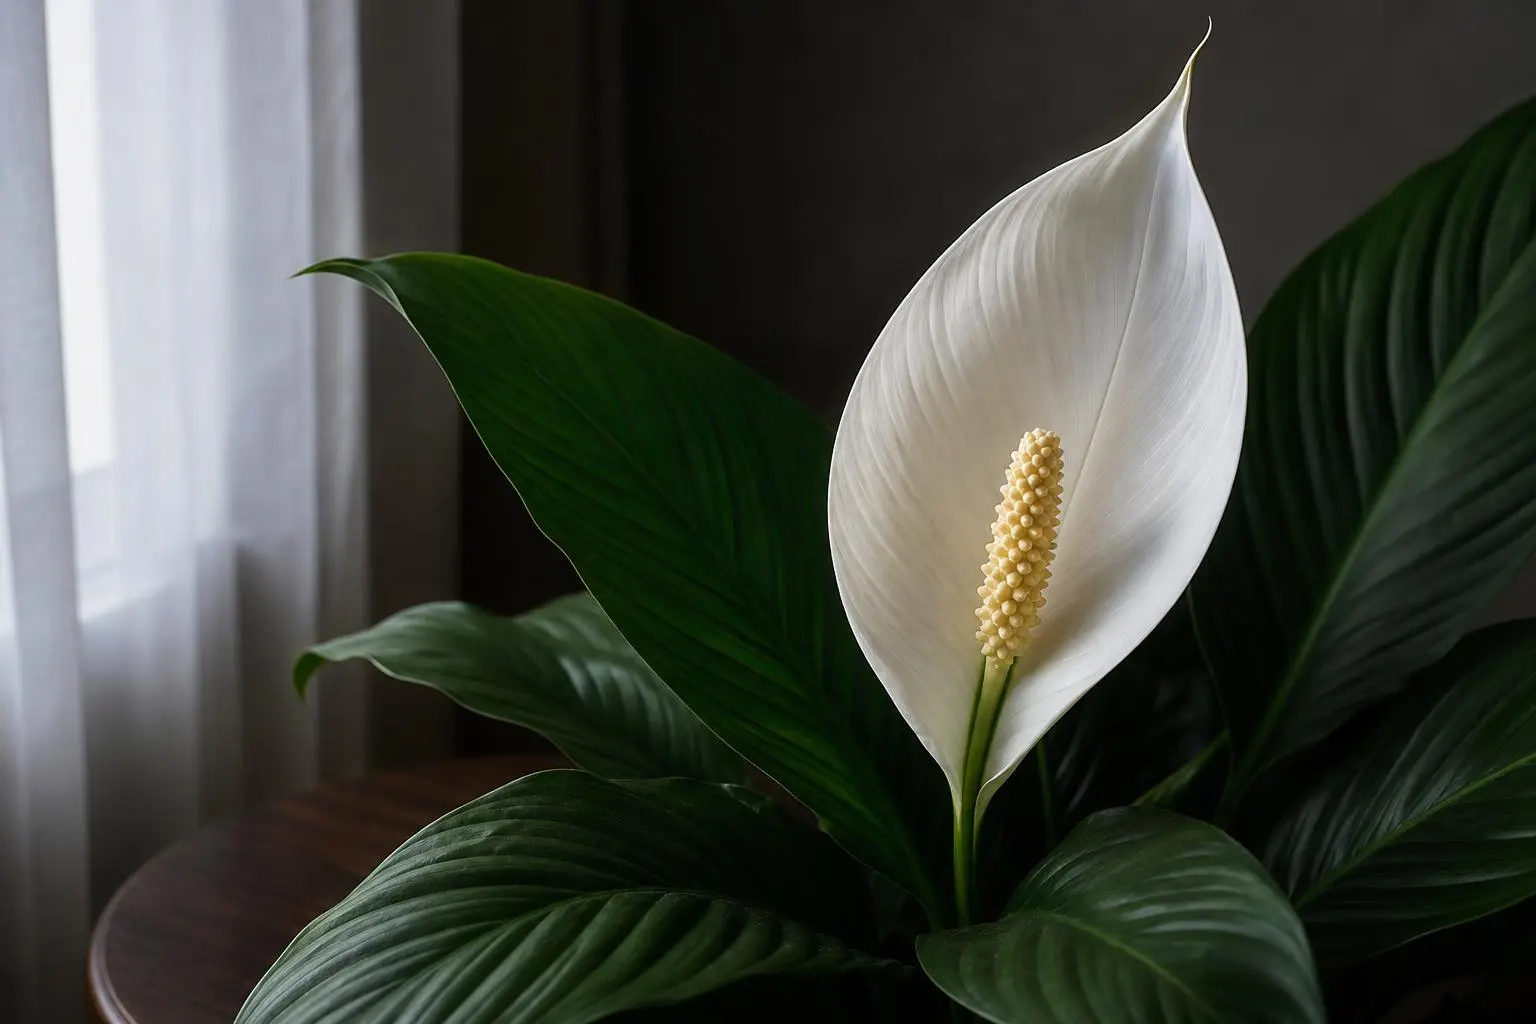
Peace Lily
Spathiphyllum wallisii
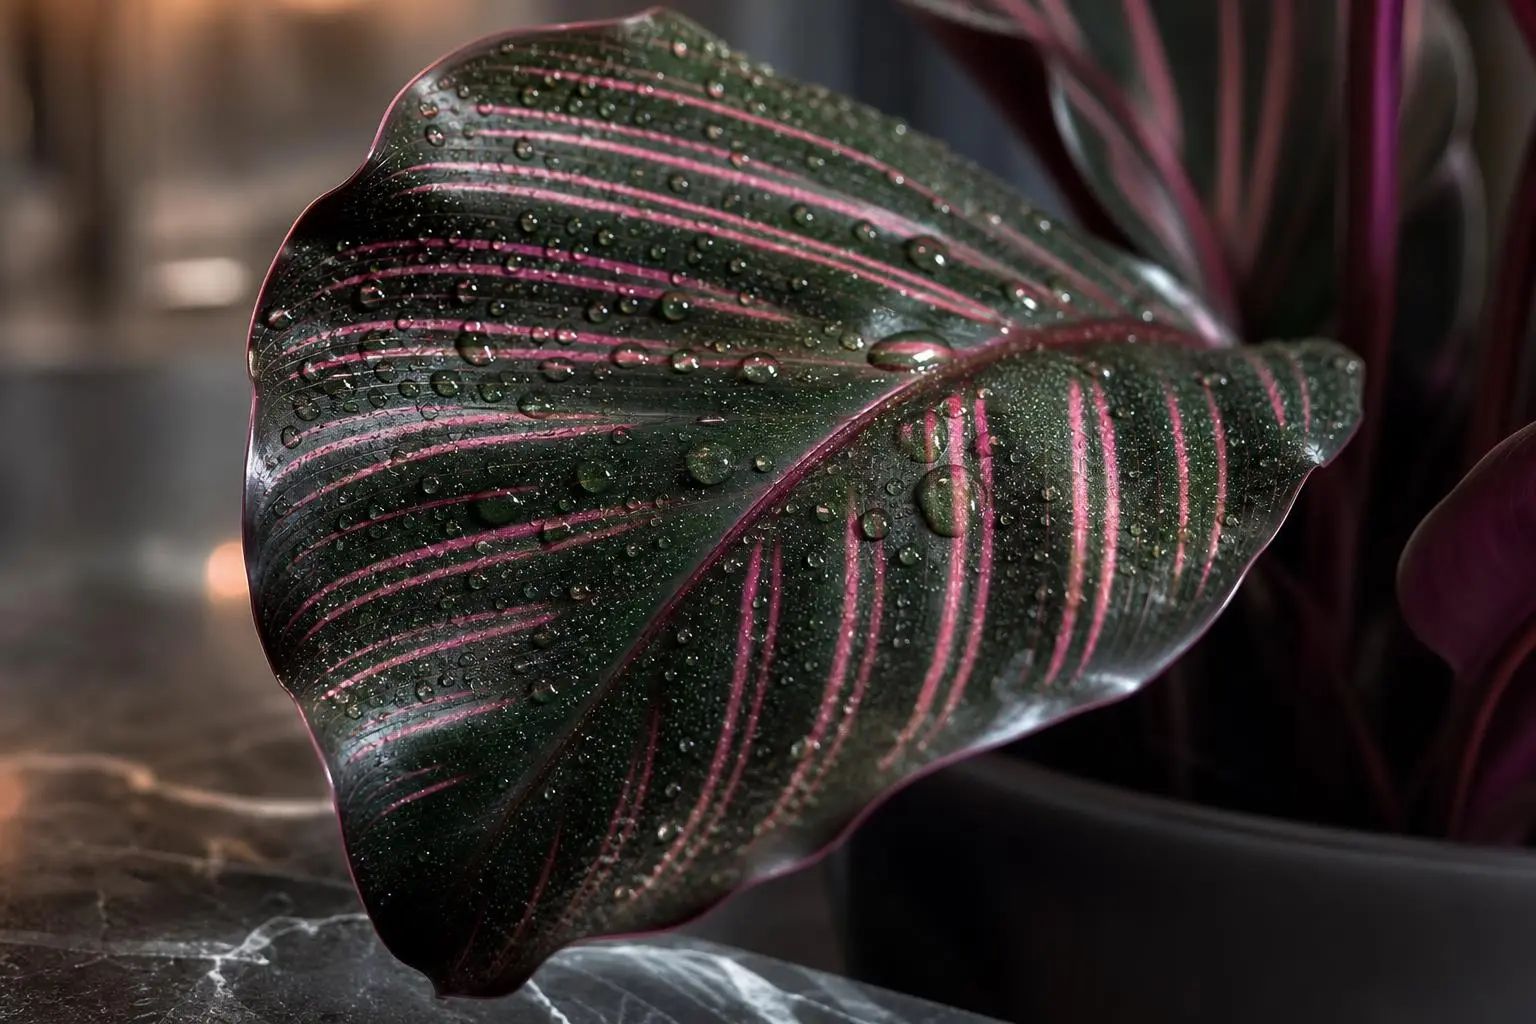
Calathea
Calathea ornata
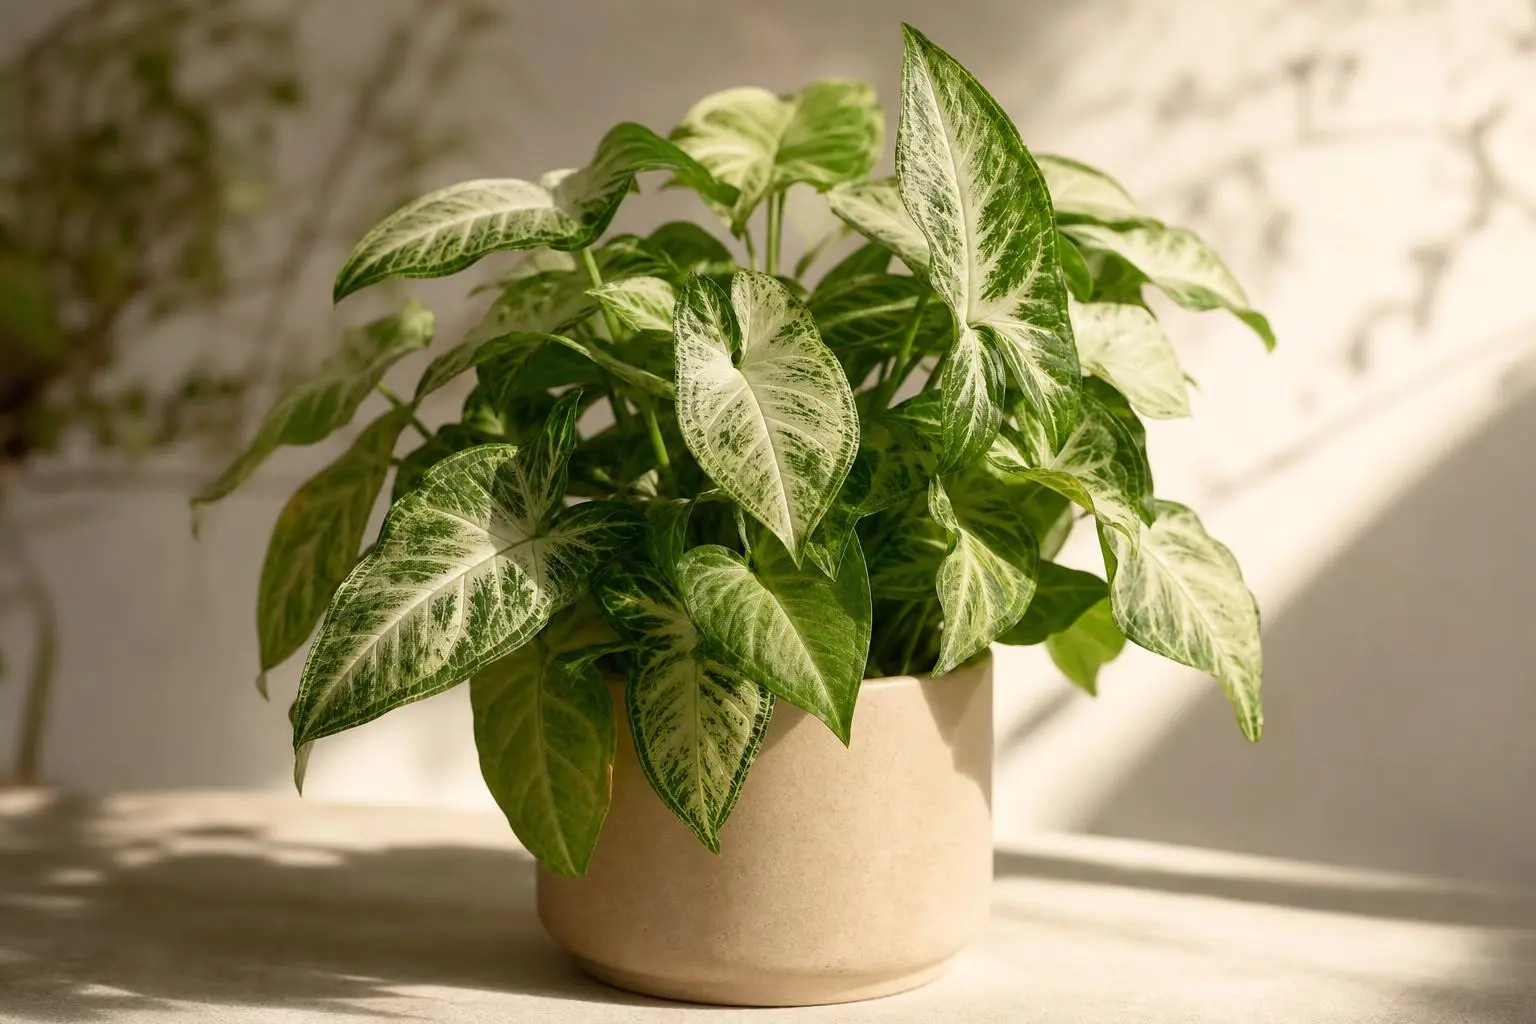
Arrowhead Plant
Syngonium podophyllum