
How to Propagate Boston Fern
Boston Fern is one of the easiest houseplants to propagate. Here are three reliable methods — choose the one that fits your comfort level and available supplies.

Division (recommended method)
You will need a clean sharp knife or garden shears, a wide shallow pot with drainage holes, peat-based potting mix, and a spray bottle for misting.
- 1 The best time to divide is during spring repotting when the plant is entering active growth and can recover quickly from root disturbance.
- 2 Water the fern thoroughly the day before to make the root ball more pliable and reduce transplant shock.
- 3 Remove the fern from its pot — for hanging baskets, carefully slide the plant out by tipping the basket on its side and gently working the root ball free.
- 4 Gently shake off excess soil to expose the root structure. Boston Ferns have dense, fibrous, shallow root systems that may be tightly matted.
- 5 Identify natural division points — look for areas where clusters of fronds emerge from separate sections of the rhizome.
- 6 Using your hands, carefully pull the root ball apart into 2–4 sections, each with several healthy fronds and a good root system. For densely matted roots, use a clean sharp knife to cut through the root ball, making clean cuts rather than tearing.
- 7 Dust cut surfaces with cinnamon powder to prevent fungal infection — ferns are susceptible to rot at wound sites.
- 8 Plant each division in its own pot with fresh peat-based potting mix at the same depth as before. Use wide, shallow pots that accommodate the fern's spreading root system.
- 9 Water thoroughly and mist the fronds to increase humidity.
- 10 Place in a warm, humid, shaded spot for a week to recover — avoid direct sun and dry air during this critical period.
- 11 Resume normal care after 7–10 days, including regular misting and watering when the soil surface feels dry.
Expected timeline: new frond growth in 2–3 weeks, full recovery in 4–6 weeks, lush established plant in 2–3 months. Success rate: approximately 85–95% with healthy divisions.
Success rate: approximately 85–95% with healthy divisions.
Runner propagation (stolon layering)
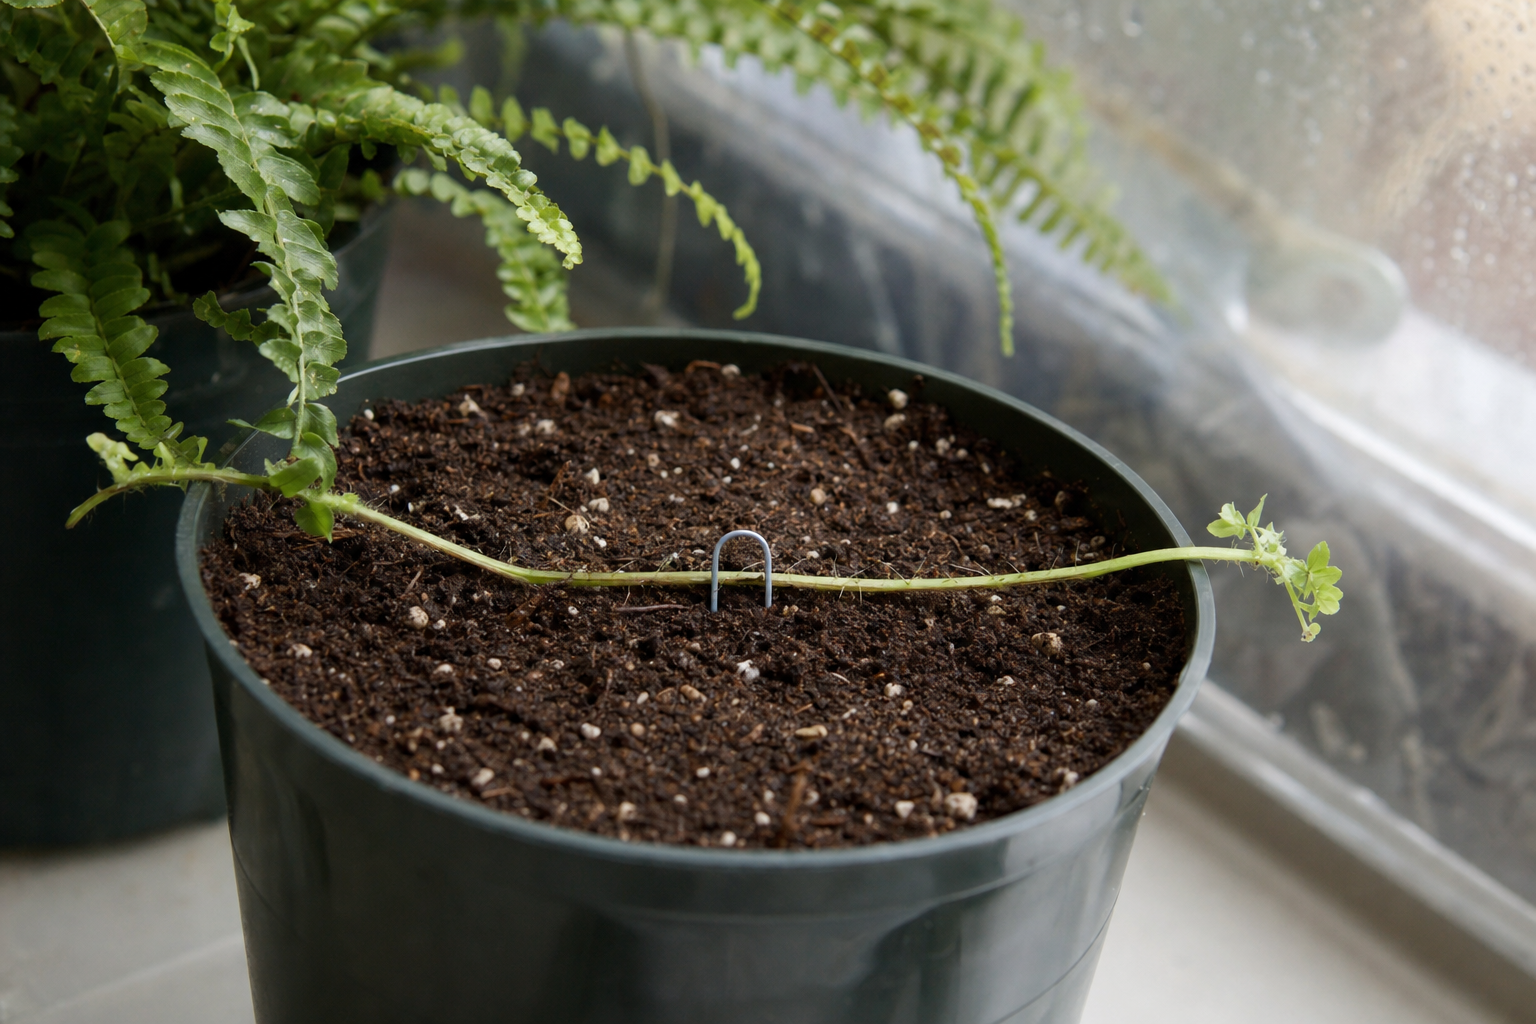
Some Boston Ferns produce above-ground runners (stolons) — long, leafless stems that extend outward from the main plant, similar to Spider Plant babies.
- 1 Identify a healthy runner with a small cluster of leaves at its tip.
- 2 Fill a small pot with moist peat-based potting mix and place it next to the parent plant.
- 3 Pin the runner tip into the moist soil using a bobby pin or U-shaped wire, burying the tip about 1/2 inch deep. Keep the runner attached to the parent plant — it continues to receive water and nutrients through the stolon while developing its own roots.
- 4 Keep the soil consistently moist and mist the tip daily to maintain high humidity.
- 5 After 3–4 weeks, give the runner tip a gentle tug — if you feel resistance, roots have formed.
- 6 Cut the stolon connecting the new plant to the parent, and treat the new fern as an independent plant.
- 7 If your fern does not produce runners naturally, you can encourage them by providing high humidity (60–80%), consistent moisture, and bright indirect light during the growing season.
Expected timeline: roots form in 3–4 weeks, new frond growth in 4–6 weeks, established plant in 2–3 months. Success rate: approximately 80–90%.
Success rate: approximately 80–90%.
Spore propagation (advanced)
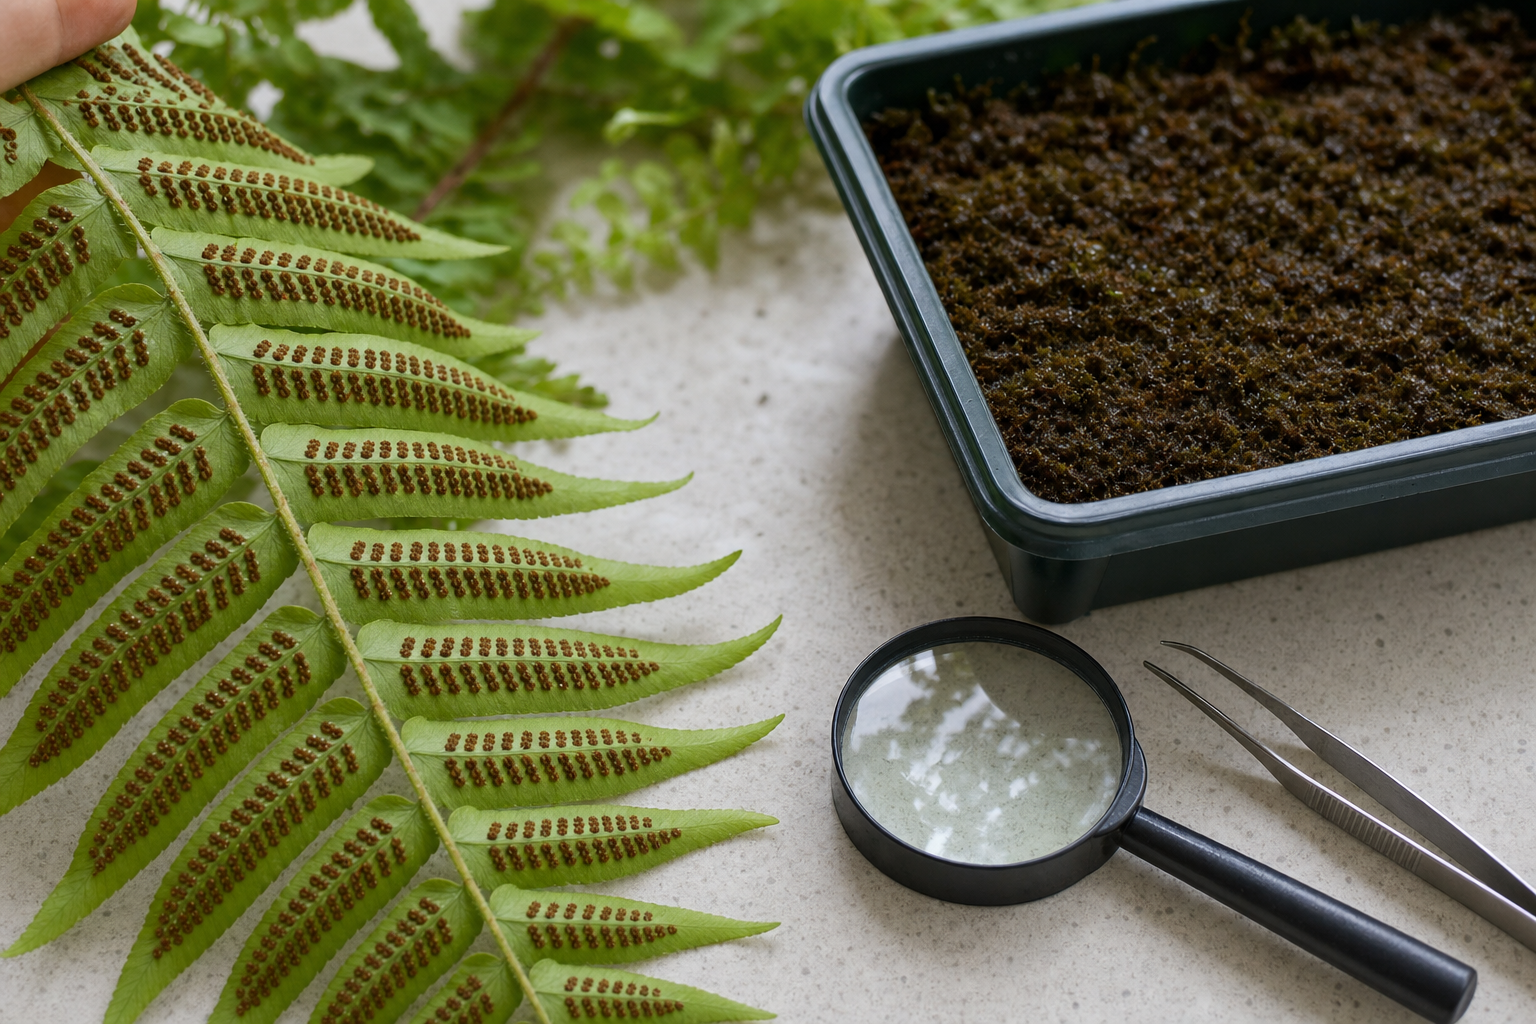
This method is for experienced growers who want the challenge of growing ferns from scratch. You will need mature fronds with rusty-brown spore cases (sori) on their undersides, a sterile container with a clear lid, fine peat moss or fern-specific growing medium, distilled water, and a spray bottle.
- 1 Select a mature frond with visible rusty-brown spots on the underside — these are the spore cases (sori).
- 2 Place the frond spore-side down on a clean sheet of white paper and leave it in a dry spot overnight. The spores will fall onto the paper as a fine brown powder.
- 3 Sterilize your growing container and medium by pouring boiling water over them, then let cool.
- 4 Sprinkle the collected spores thinly over the surface of moist, sterile peat moss in the container — do not bury them, as they need light to germinate.
- 5 Cover the container with a clear lid or plastic wrap to maintain 100% humidity.
- 6 Place in bright indirect light at 65–75°F (18–24°C).
- 7 Mist the surface with distilled water if it begins to dry out.
- 8 In 4–8 weeks, a green moss-like layer (prothallus) will appear on the surface — this is the fern's gametophyte stage.
- 9 Keep the prothallus moist; after several more weeks, tiny new fern fronds will emerge from the prothallus.
- 10 When the baby ferns have 2–3 true fronds, carefully transplant them into individual pots with fern potting mix.
Expected timeline: prothallus appears in 4–8 weeks, first fronds in 3–6 months, established plant in 12–18 months. Success rate: approximately 30–50% due to contamination risk and the precise conditions required.
Success rate: approximately 30–50% due to contamination risk and the precise conditions required.
Troubleshooting Common Issues
Division wilting and browning after separation
Boston Ferns are sensitive to root disturbance and may droop or lose a few fronds after division. This is normal for the first week. Keep the division in high humidity (mist 2–3 times daily), bright indirect light (no direct sun), and consistently moist soil. Remove completely brown fronds to direct energy to new growth. Most divisions recover fully within 2–3 weeks.
Division developing brown spots on fronds
Brown spots after division usually indicate fungal infection at wound sites. Remove affected fronds immediately, improve air circulation around the plant, and reduce misting frequency — fronds should dry between misting sessions. A fungicide spray approved for ferns can help if the problem spreads.
Runner tip not rooting after 4 weeks
Ensure the soil where the runner is pinned stays consistently moist (not soggy) and that the humidity around the tip is high. The parent plant should be healthy and well-watered — a stressed parent cannot support runner rooting. Move the setup to a warmer spot (70–75°F) if temperatures are cool.
Spore propagation contaminated with mold
Mold is the most common reason spore propagation fails. The sterile conditions required are difficult to maintain in a home environment. Start over with freshly sterilized containers and medium. Some growers add a very dilute chamomile tea to their misting water for its natural antifungal properties.
Propagation Tips
- ✓ Always use clean, sterilized tools to prevent infection
- ✓ Cuttings need bright indirect light — never direct sun
- ✓ Change propagation water every 5–7 days to prevent bacteria
- ✓ Be patient — rooting takes 2–6 weeks depending on the method
- ✓ Spring and summer are the best seasons for propagation